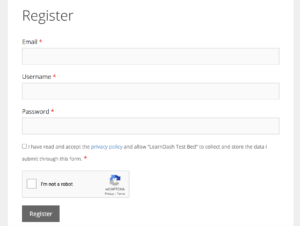
It’s no secret that spam accounts and signups are rife when using WordPress (although it’s also true of virtually any input form regardless of platform).
One way to combat spam signups is with reCAPTCHA, a computer-generated challenge that prevents bots from registering on your website.
In this guide I’ll cover why you need reCaptcha and how you can implement it on your WordPress website. Let’s get started!
Contents
What is reCAPTCHA
Why you need reCAPTCHA
WPUM and reCAPTCHA
Adding reCAPTCHA to Your Site Step by Step
Wrapping Up
What is reCAPTCHA
CAPTCHA stands for Completely Automated Public Turing Test which helps tell computers and humans apart.
reCAPTCHA by Google is an implementation of CAPTCHA to prevent spam and abuse of forms on websites and applications.
reCAPTCHA is a simple challenge that requires the user to view a set of images and select the correct result and then click a button to verify the result to access the input form (such as login forms, contact forms etc).
Back to top
Why you need reCAPTCHA
The primary reason is bots as without a challenge bots will consistently register fake accounts on your website which is both annoying from a management point of view but also risks bringing your website down.
How? Every bot request is a request to your server just because it isn’t a real user your server has to do the heavy lifting as if it was that means that the bots are using your server resources and on managed WordPress hosts can even count as a visit.

Get Started with the Best WordPress Membership Plugin Today
Connect, Manage and Build your Membership Site
When you consider that most managed WordPress hosts include limits such as 100,000 visits if you had bots sending 1,000 requests a day. You’d use 31,000 of your visits in a 31-day month on bots.
reCAPTCHA v2 vs reCAPTCHA v3
If you didn’t already know there are two versions of reCAPTCHA v2 and v3, v2 is the one you’ve used millions of times over with the checkbox approach and then clicking on squares that match the text.
Whereas reCAPTCHA v3 is the newest version which uses an automated scoring system based on interactions with your website rather than a human input such as checking a box making it more user friendly than v2.
Ultimately both are great options and one or the other may suit your personal use case better.
Back to top
WPUM and reCAPTCHA
WP User Manager has a reCAPTCHA add-on available that makes it quick and simple to add reCAPTCHA to your user registration forms. Here’s what you need to get started.
- WP User Manager plugin
- WP User Manager reCAPTCHA add-on
- Google account
First though what is WP User Manager?
Simply, WP User Manager is one of the most straightforward to use WordPress membership plugins available.
If you’ve ever tried membership plugins before you’ll often find them cumbersome and difficult to use but WP User Manager makes the experience a breeze.
In short, it handles the following:
- User directories
- Restrict content
- Social login
- Mailchimp integration
- Custom field support
- Verify users
- And so much more.
Adding reCAPTCHA to Your Site Step by Step
Step 1: Installing the reCAPTCHA add-on by WPUM
The first step of course is to install the plugin which can be done by uploading the zip file via your wp-admin > plugins > add new > upload.
Step 2: Creating reCAPTCHA keys in your Google Account
The next step is slightly more complicated but don’t worry! Here’s what you need to do. Firstly ensure you’re signed into your Google account already.
Go to the Google reCAPTCHA admin console here.
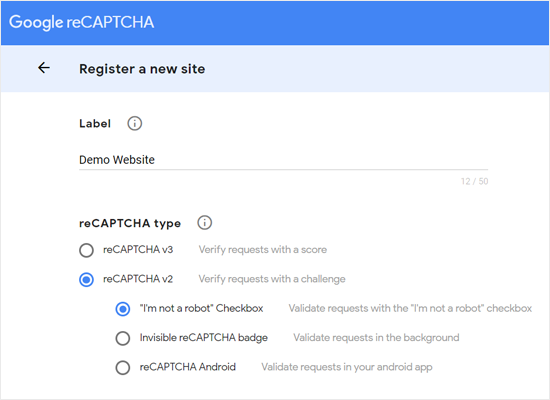
Then create a new reCAPTCHA key and in the form select the following options:
- reCAPTCHA v2
- I’m not a robot checkbox
- Label set this to something you can use to identify your site (such as your website name).
Then the next step is to enter your domain into the provided area:
Don’t add http or https here. You should enter your domain without a protocol. So if your website URL is https://example.com just enter “example.com”.
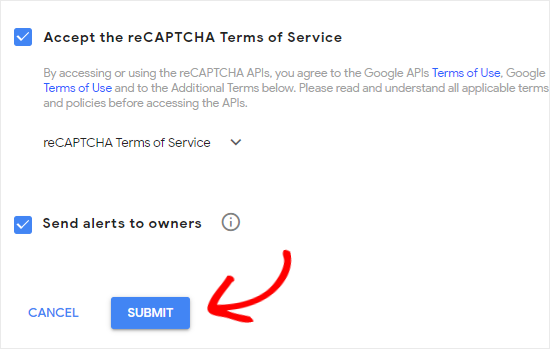
Then accept the Google reCAPTCHA terms of service and click submit.
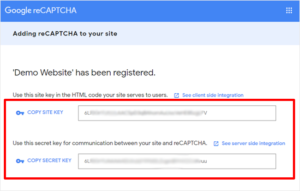
You’ve now created your reCATPCHA and should see the associated keys:
Step 3: Adding Your reCAPTCHA keys to your website
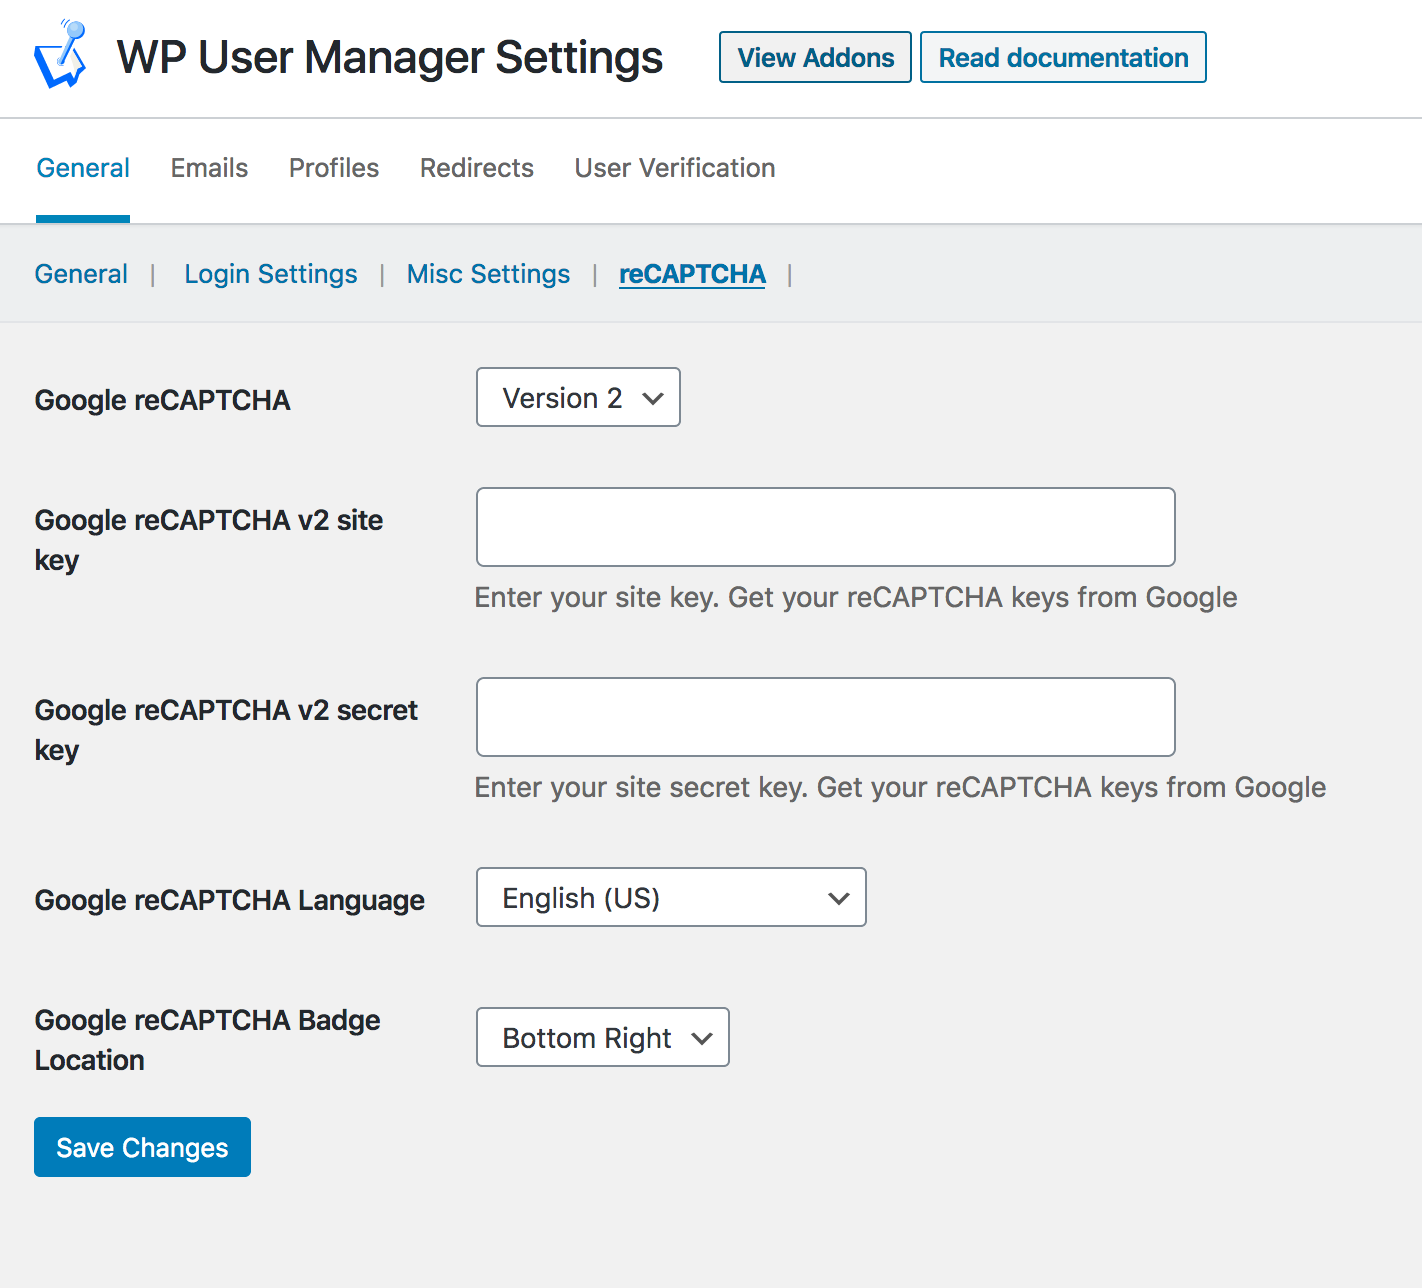
Open up your wp-admin and go to users > Settings > reCAPTCHA and paste in your site key and secret key and click “save”.
Make sure on the settings page you’ve also selected reCAPTCHA v2.
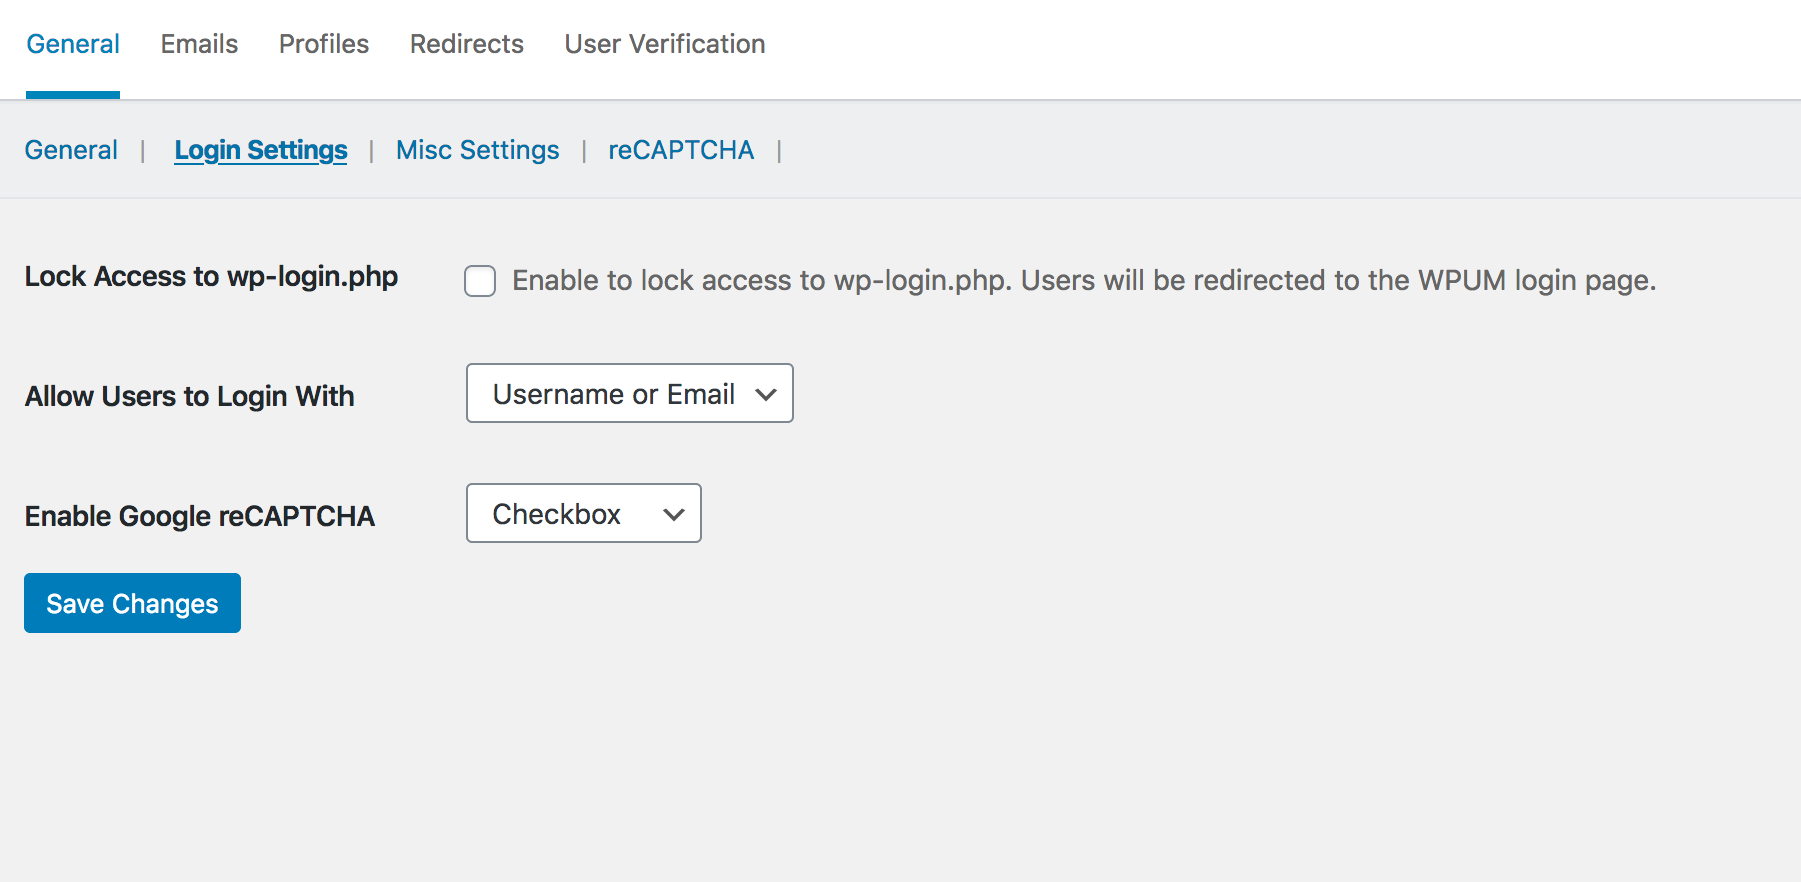
Now to add it to your login form go to your wp-admin > Users > Settings > Login Settings and on that page enable the Google reCAPTCHA option.
Set the option to “Checkbox” if you are using reCAPTCHA v2 and set the option to “Invisible” if using reCAPTCHA v3.
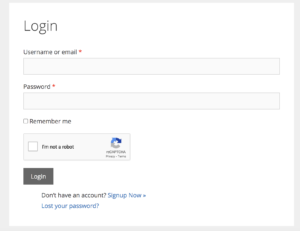
Congrats! You’ve now successfully integrated reCAPTCHA with your login form! And should see it output like this:
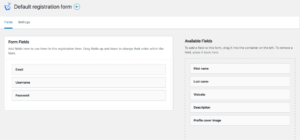
How about if you want to add it to the registration form? Then head over to your wp-admin > Users > Registration Forms > and on the default form select Customize form.
Add the fields you want such as username, email, password.
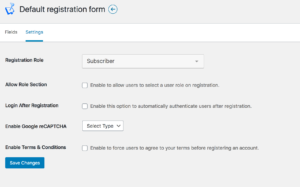
Then click on “Settings”. And under “Enable Google reCAPTCHA set “Checkbox”.
Once that’s done, click on “save changes”. Ensure you’re logged out and visit the front-end registration form and you should now see that reCAPTCHA is integrated.
Wrapping Up
reCAPTCHA is perfect for saving your site from pesky automated bots registering fake users and bombarding your site with fake profiles.
It’s quick to set up and thanks to the add-on available for WP User Manager it’s painless to integrate too.
Have you had problems before with fake users? Perhaps you found the perfect solution that isn’t reCAPTCHA based? Let me know in the comments below.
Back to top

