
The Google reCAPTCHA addon needs a site key and a secret key from Google. Google has moved reCAPTCHA into Google Cloud, so new keys are created in the Google Cloud console rather than the old reCAPTCHA admin page. Keys you created in the old console still work: Google has moved them into a Cloud project for you.
1. Decide which version you want
The addon supports both versions, and each needs its own type of key:
- Version 3 (invisible, scores every visitor): create a score-based key. This is Google’s default and recommendation.
- Version 2 Checkbox (the “I’m not a robot” box): create a key that uses challenges.
2. Create the key in Google Cloud
- Sign in to the Google Cloud console and create a project for your site, or pick an existing one.
- Go to the reCAPTCHA page (Google lists it under Fraud Defense), open the Keys tab and click Create key.
- Enter a Display name, such as your site’s name, and set Application type to Web.
- Under Domain list, click Add a domain and enter your domain without
https://, for exampleexample.com. - Choose the key type:
- For Version 3, leave it score-based and click Create key.
- For Version 2 Checkbox, click Next Step, turn on Will you use challenges?, pick a Challenge security level and click Create key.
Google’s guide to creating a reCAPTCHA key for a website has more detail on each option.
3. Copy the site key and secret key
- Open the key you created. Its Key ID is your site key.
- On the Integration tab, click Use Legacy Key to see the secret key. WP User Manager checks answers with Google’s standard verification, which needs this secret.
Keep the secret key private. It goes in your WordPress settings and nowhere else.
4. Add the keys to WP User Manager
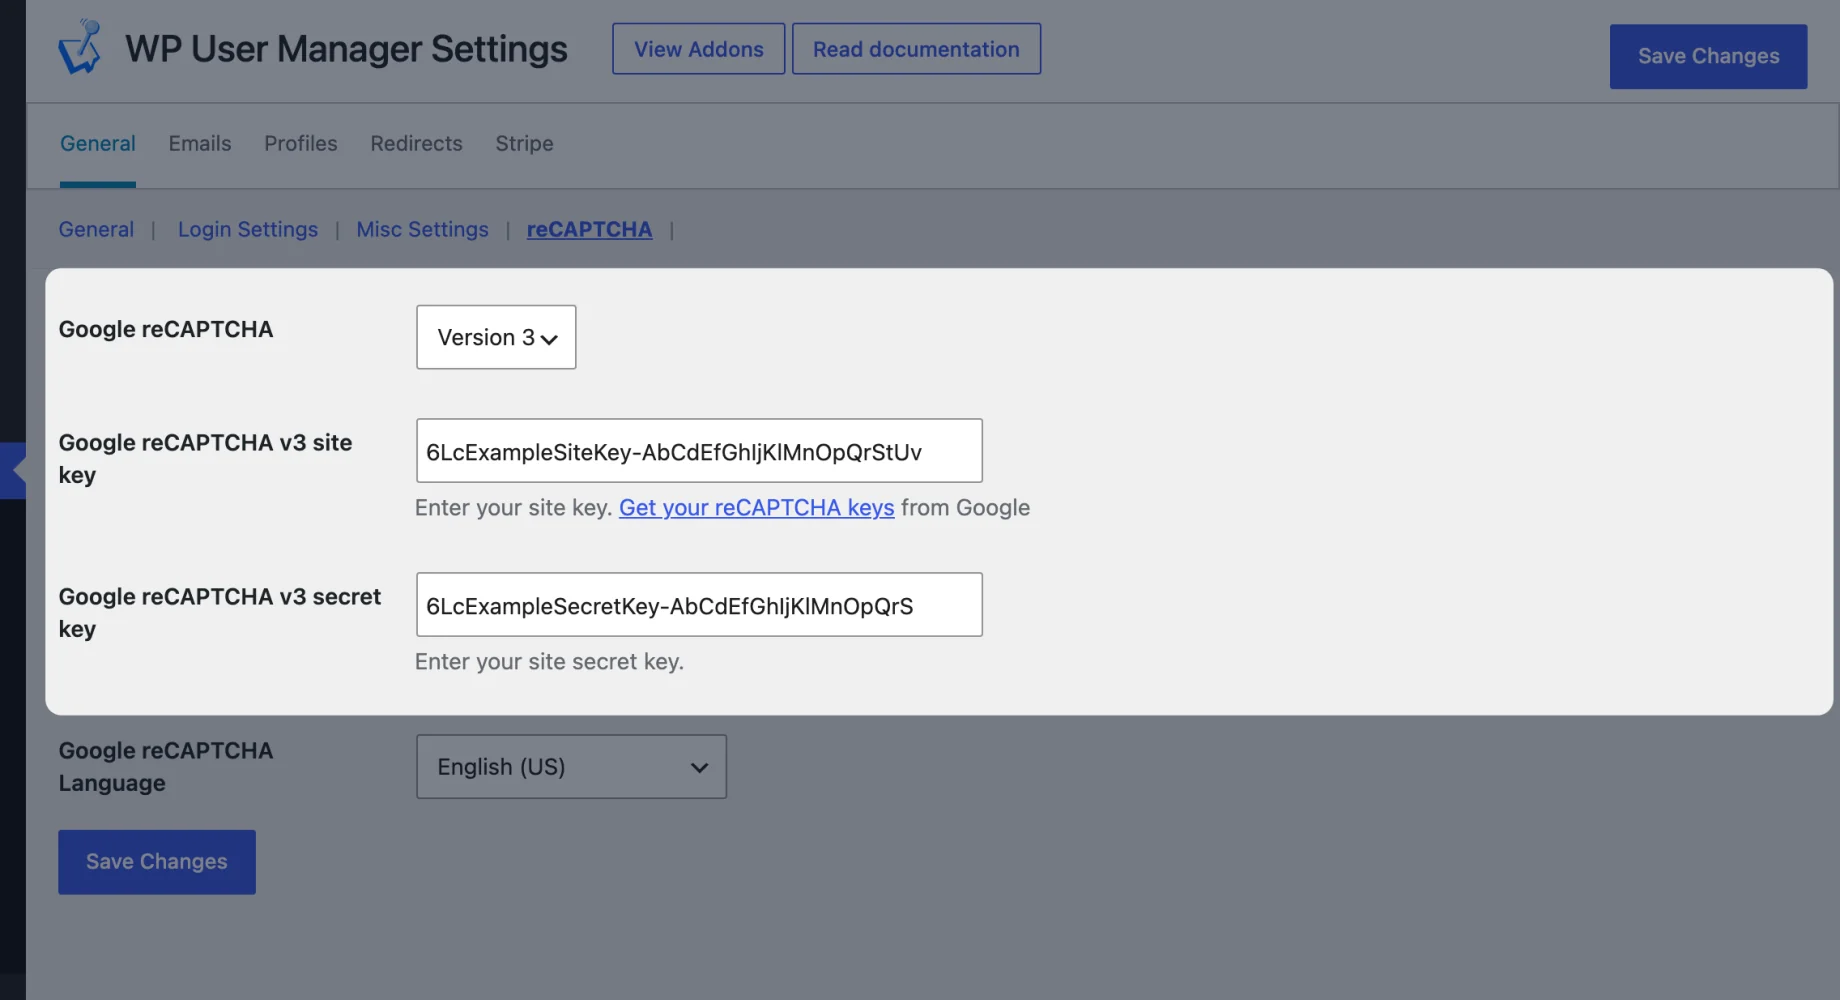
Go to Users > Settings > General > reCAPTCHA, choose the same version as your key, paste both keys and save. Configure reCAPTCHA walks through the settings.
What it costs
reCAPTCHA is free for up to 10,000 checks a month across your Google Cloud organization, which covers most sites. Above that, Google needs billing turned on in Google Cloud. Without it, reCAPTCHA stops checking and lets every request through, so your forms keep working but aren’t protected.
For the full setup, including locking wp-login.php so bots can’t go around your forms, see our guide to adding reCAPTCHA to WordPress.

Get Started with the Best WordPress Membership Plugin Today
Connect, Manage and Build your Membership Site