

A custom login page in WordPress is a normal page on your site, styled by your theme, that replaces the grey wp-login.php screen. The quickest way to make one is to put a login form on a page, tell WordPress to use that page for logging in, and redirect anyone who lands on wp-login.php. With the free WP User Manager plugin that takes about five minutes, and this guide walks through every setting.
If all you want is your logo on the default screen, you don’t need a plugin at all. We’ll cover that first, so you can pick the right approach.
Option 1: Customize the default login page without a plugin
WordPress lets you restyle wp-login.php from your theme. Add this to a child theme’s functions.php or a code snippets plugin, and swap in your own logo URL:
add_action( 'login_enqueue_scripts', function () {
    ?>
    <style>
        #login h1 a {
            background-image: url( <?php echo esc_url( get_stylesheet_directory_uri() . '/images/logo.png' ); ?> );
            background-size: contain;
            width: 100%;
        }
    </style>
    <?php
} );

add_filter( 'login_headerurl', function () {
    return home_url();
} );
The first function replaces the WordPress logo, and the second makes the logo link to your home page instead of wordpress.org.
This is fine for a site where only you and a few editors log in. It still looks like WordPress, though: no header, no footer, no navigation, and visitors are taken out of your site to sign in. For a membership site, a community or a client portal, you want the login form inside your own design.
Option 2: Create a custom login page with WP User Manager
WP User Manager adds frontend login, registration, password reset, account and profile pages to WordPress. Everything in this section is in the free plugin.
Step 1: Install the plugin
In your dashboard, go to Plugins → Add New Plugin, search for WP User Manager, then click Install Now and Activate. You can also download it from its WordPress.org page.
Step 2: Find your new login page
On activation, WP User Manager creates five pages for you: Log In, Register, Password Reset, Account and Profile. Open Pages and edit Log In.
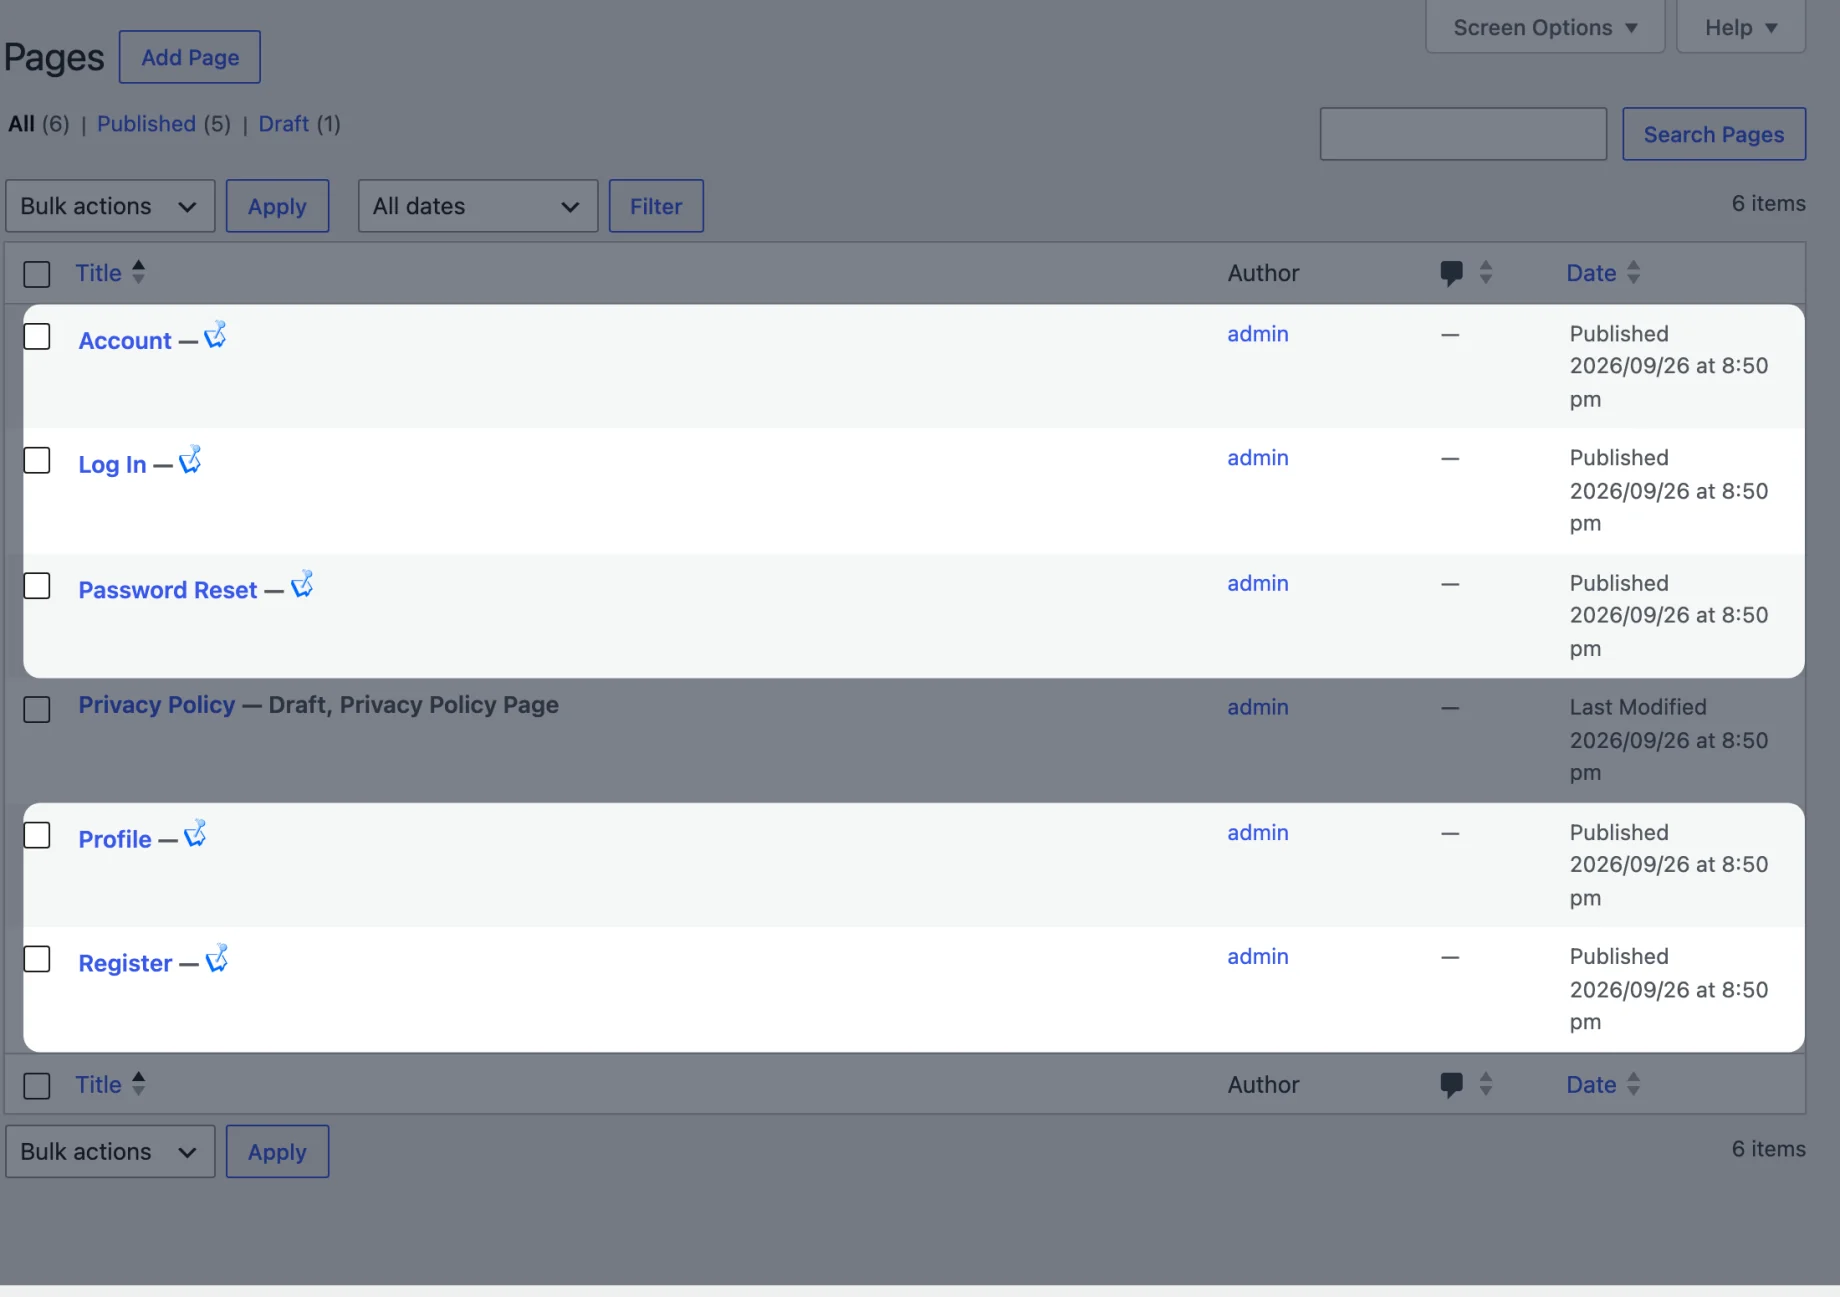
It contains the login form, either as the Login Form block or as this shortcode:

Get Started with the Best WordPress Membership Plugin Today
Connect, Manage and Build your Membership Site
[wpum_login_form psw_link="yes" register_link="yes"]
psw_link shows a “lost your password?” link and register_link shows a link to your registration page. Remove either attribute to hide that link.
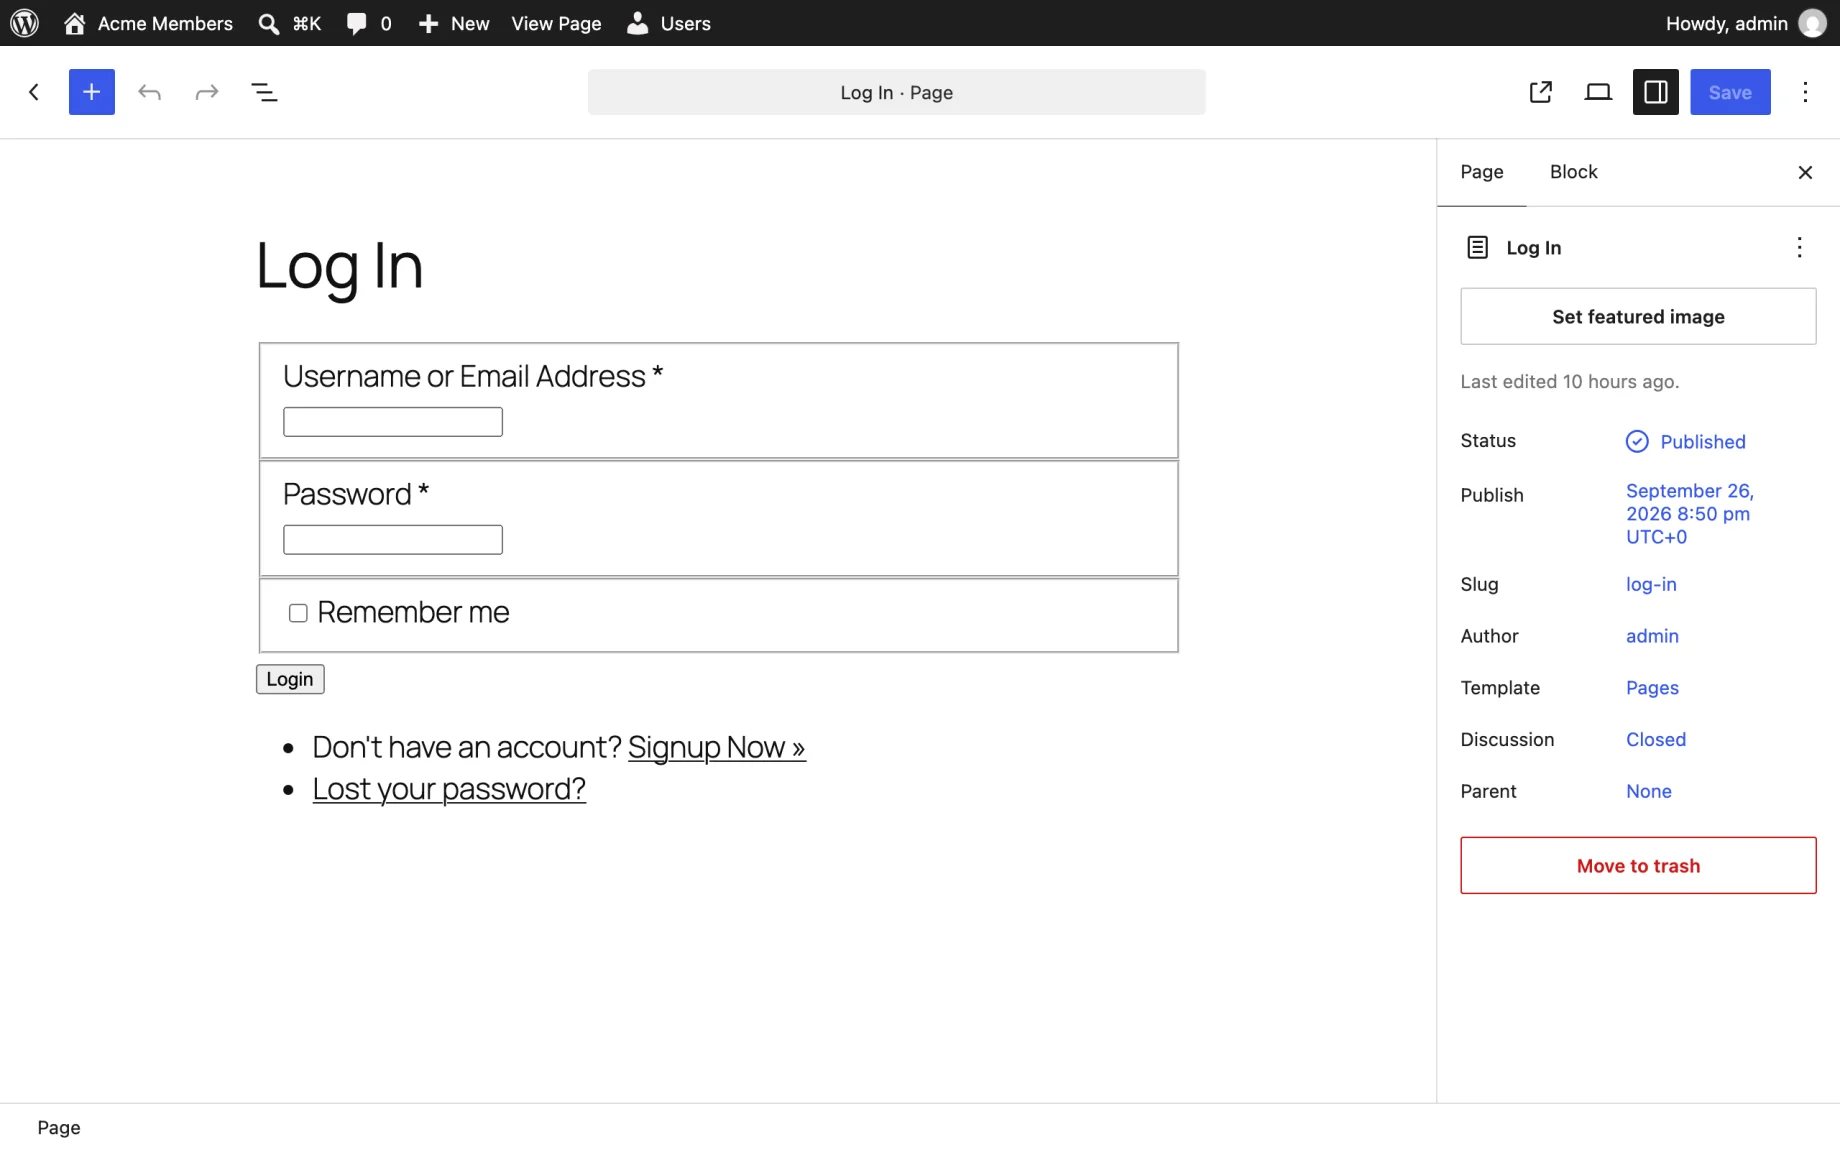
Because this is an ordinary page, you design it like any other: add a heading, a welcome message, an image or columns around the form.
The form uses your theme’s fonts. How the fields and button look depends on the theme: many style them for you, but block themes such as Twenty Twenty-Five leave them plain.
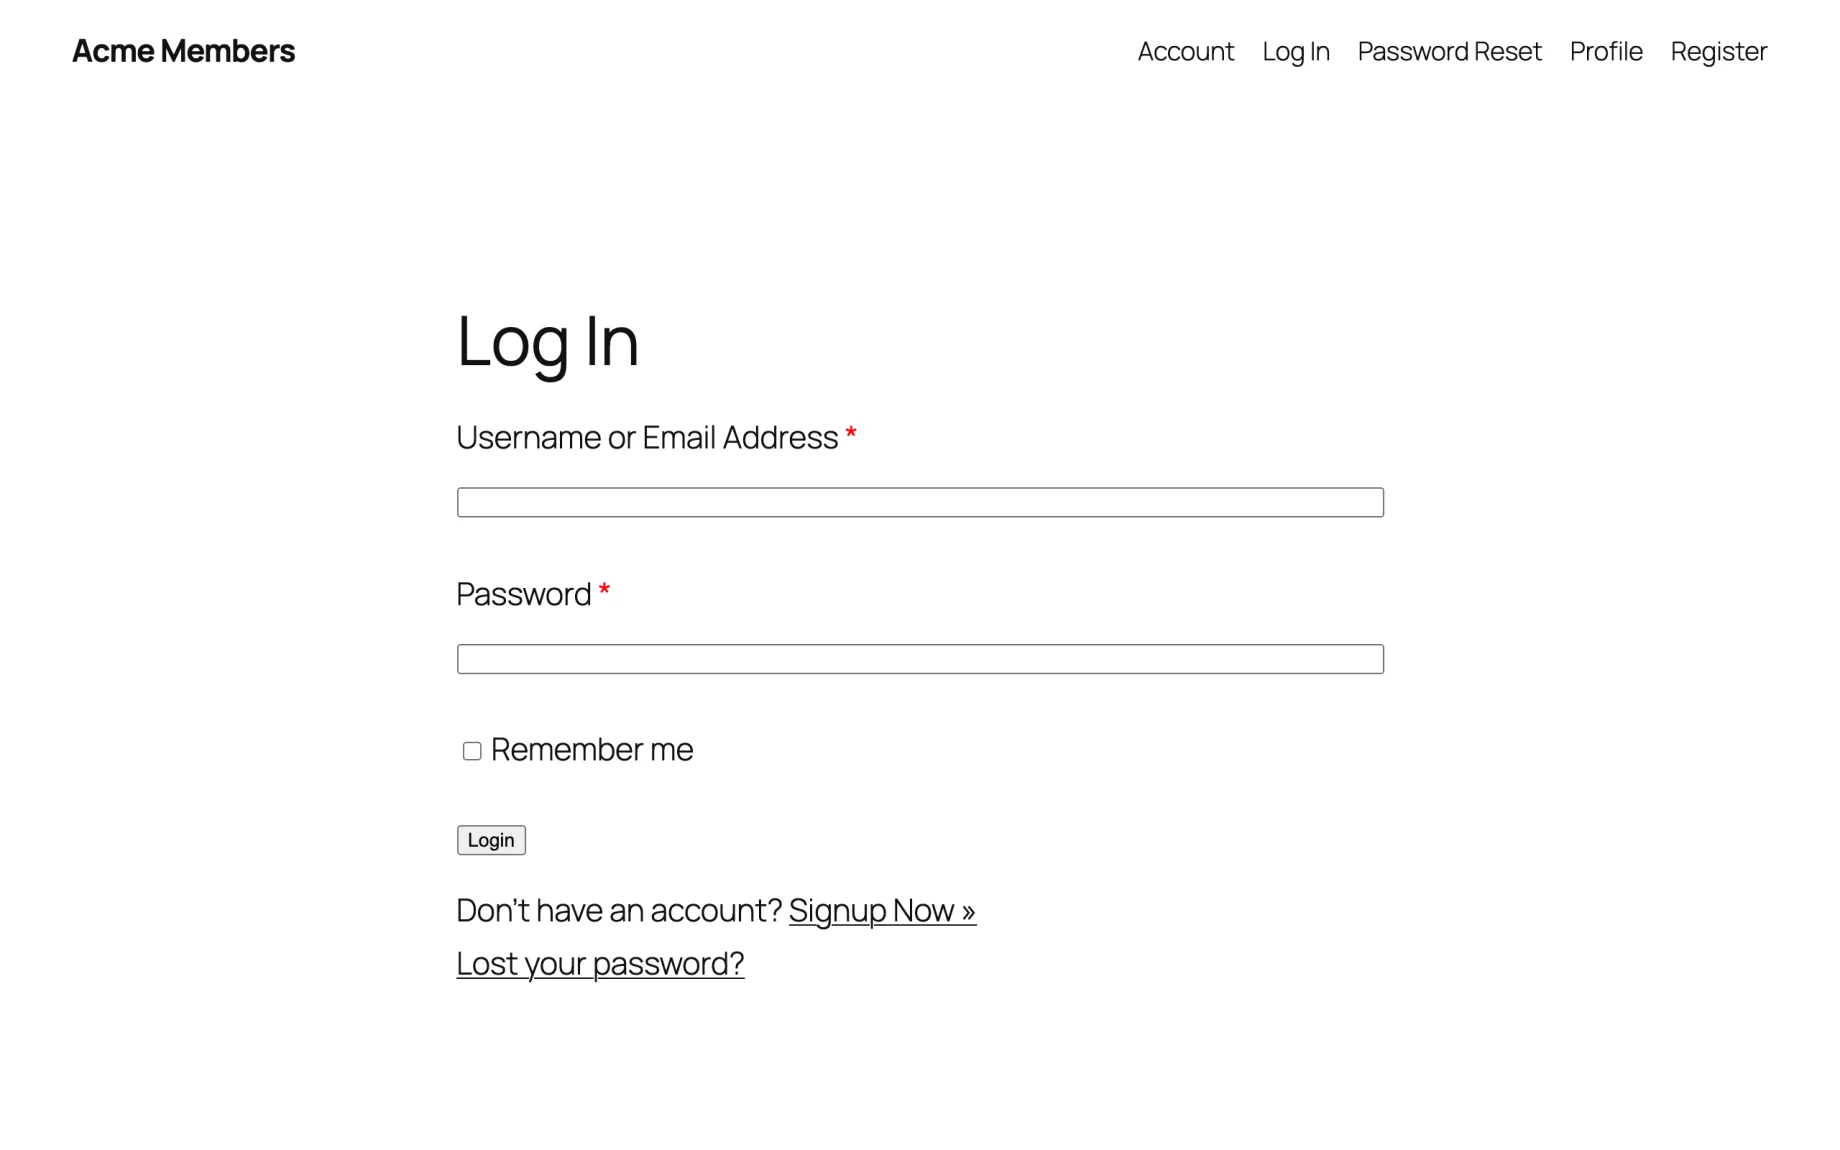
If yours looks like that, add this under Appearance → Editor → Styles → Additional CSS (or Appearance → Customize → Additional CSS on a classic theme). It uses your theme’s own colors, so it should suit most designs:
.wpum-form input[type=text],
.wpum-form input[type=email],
.wpum-form input[type=password] {
    width: 100%;
    padding: .6em .8em;
    border: 1px solid currentColor;
    border-radius: 6px;
    font: inherit;
}

.wpum-form input[type=submit] {
    background: var(--wp--preset--color--contrast);
    color: var(--wp--preset--color--base);
    border: 0;
    border-radius: 6px;
    padding: .7em 1.6em;
    font: inherit;
    cursor: pointer;
}
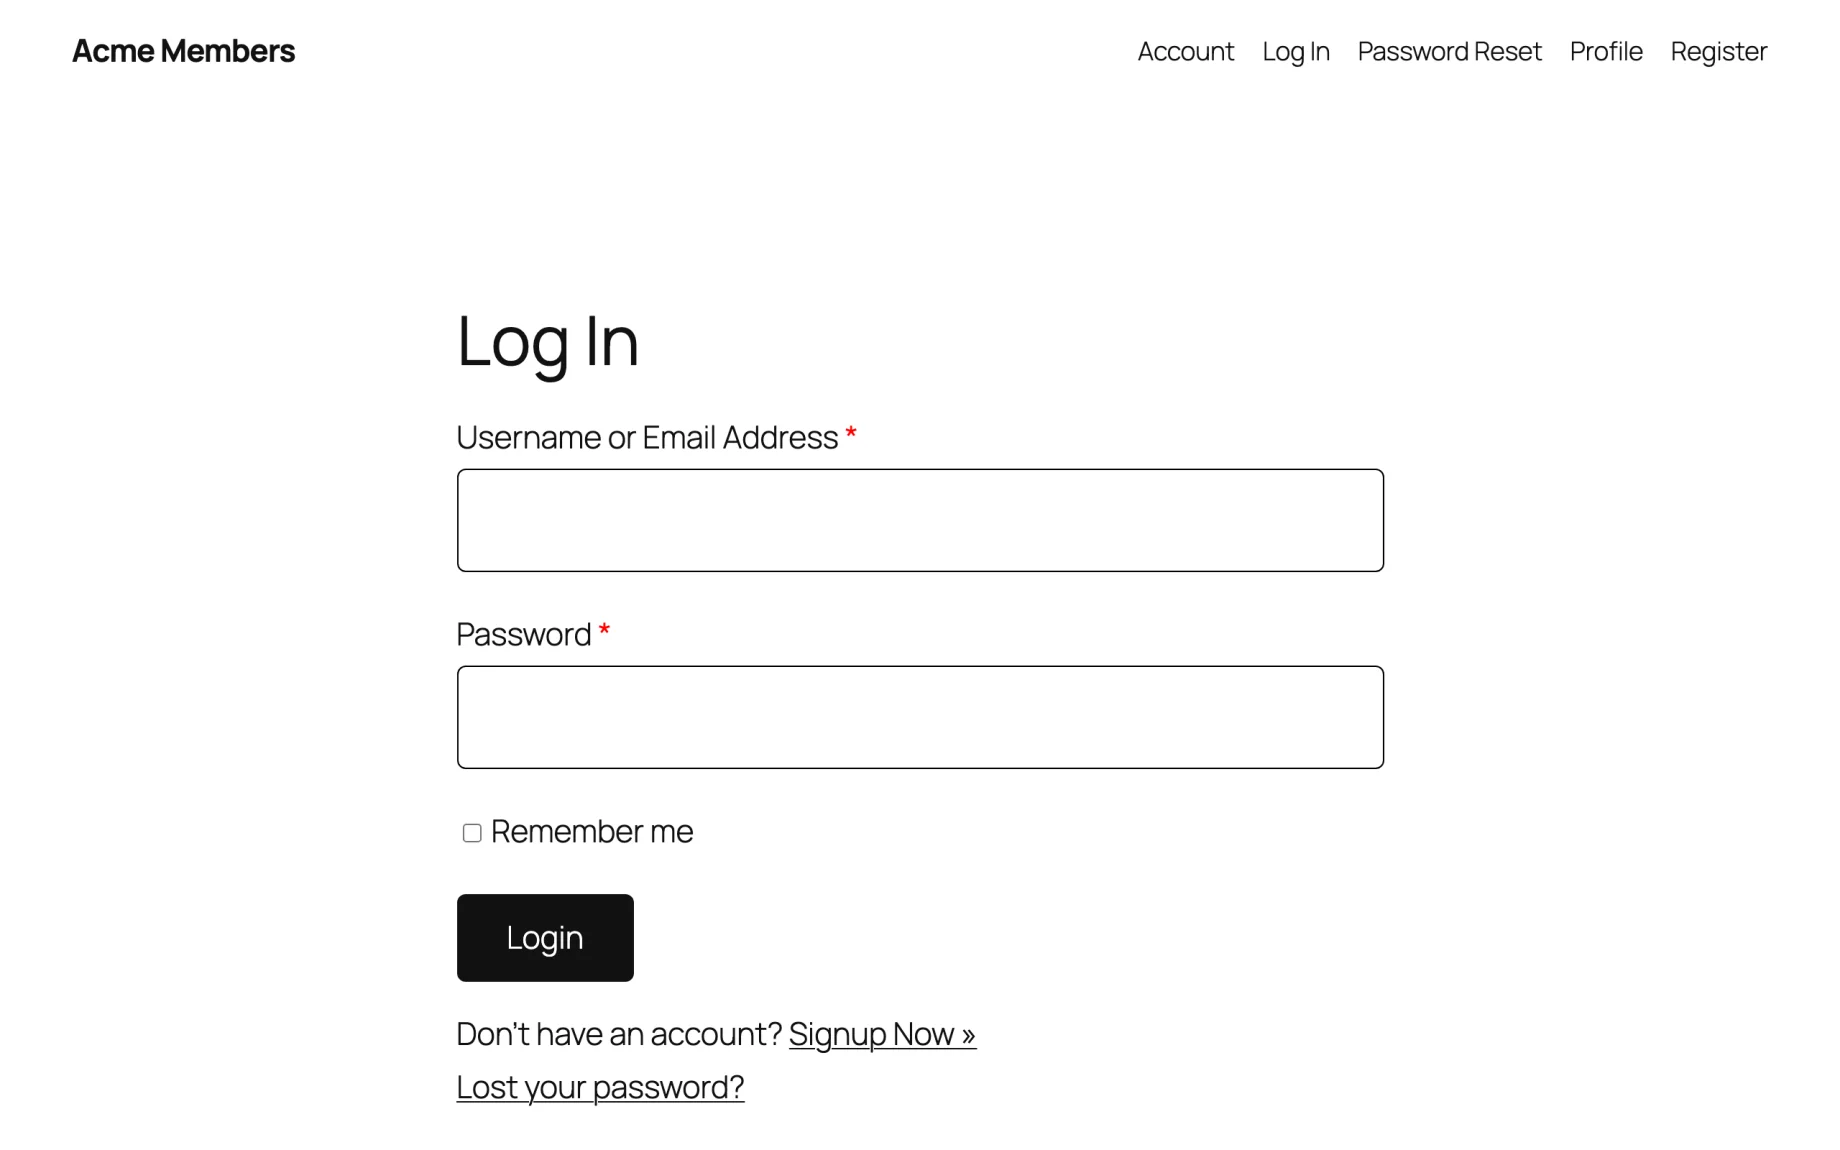
You can also add the form to other places, such as a sidebar or a landing page. See the login form shortcode for the options.
Step 3: Make it your site’s login page
Go to Users → Settings. On the General tab, set Login Page to the page you just edited.
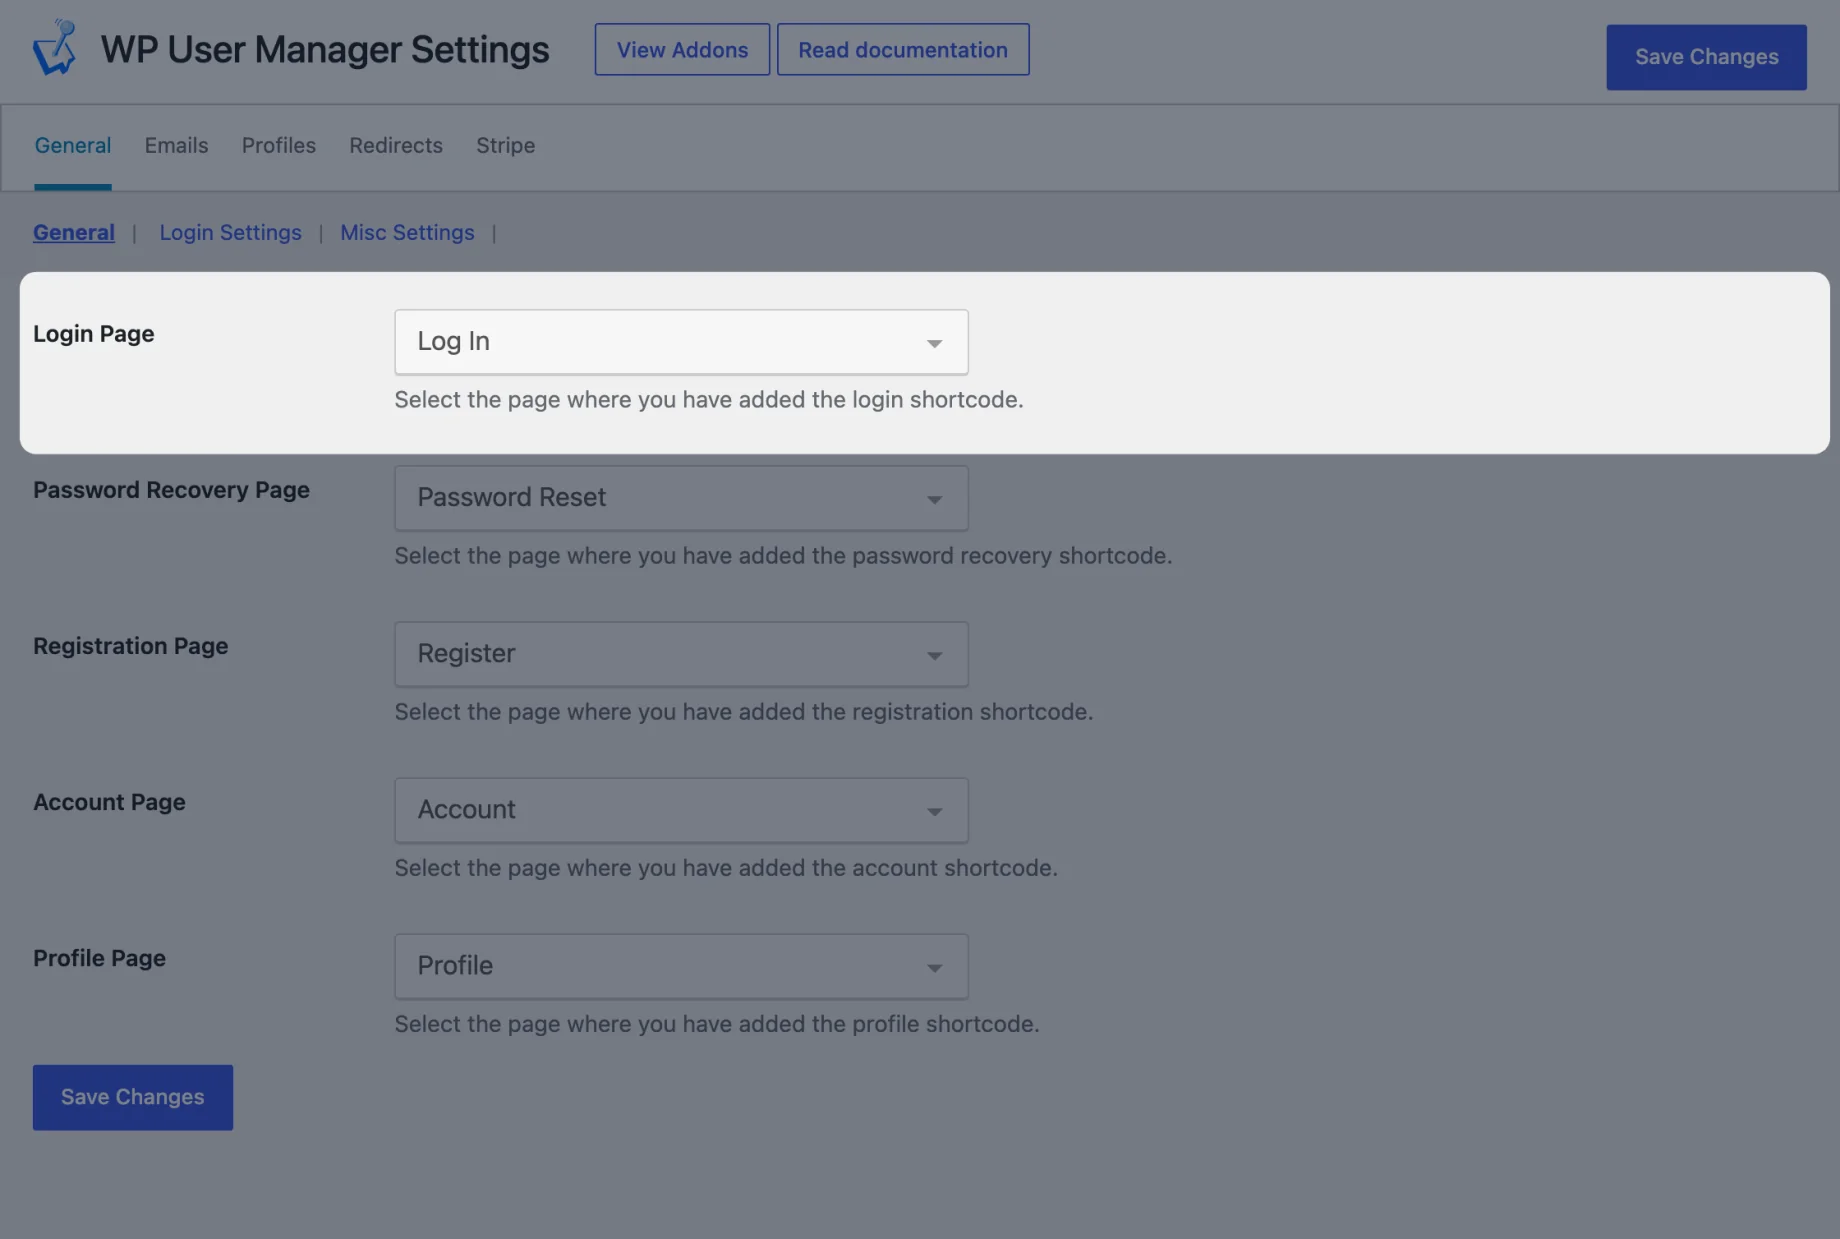
While you’re here, check the Password Recovery Page and Registration Page settings point to the pages WP User Manager created, so the links on your login form go to the right places.
Step 4: Choose how people log in
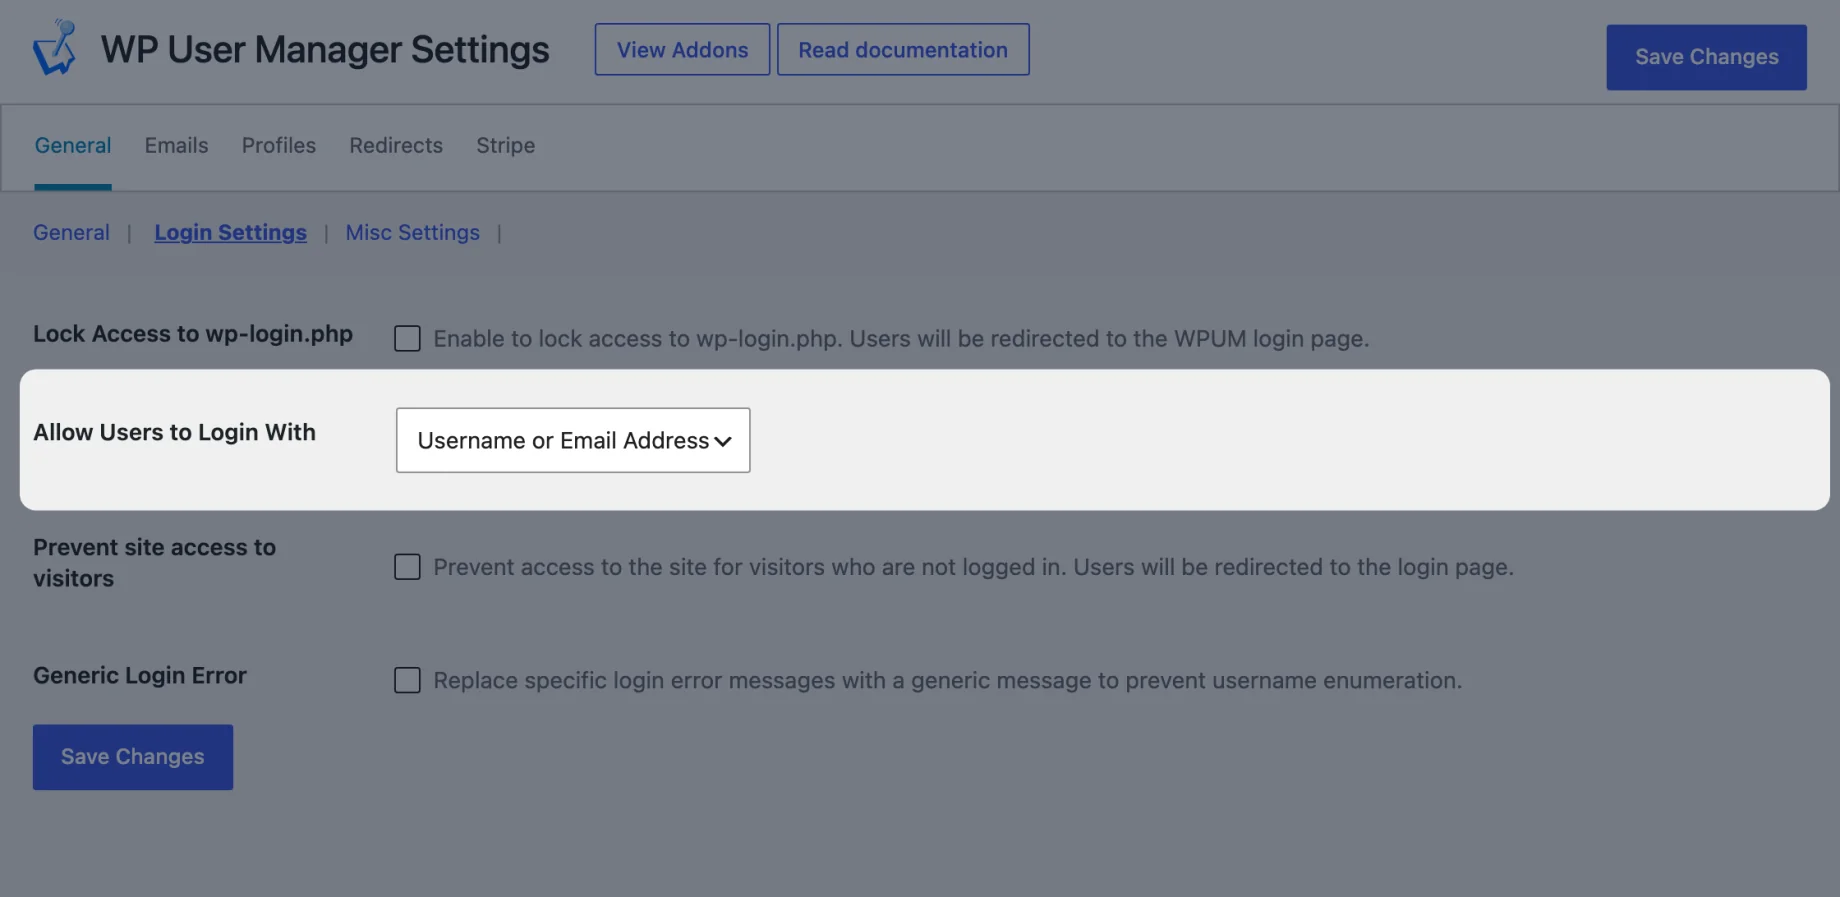
On the same tab, under Login Settings, set Allow Users to Login With to one of:
- Username or Email Address (the default)
- Username only
- Email only
The default suits most sites. Switch to Email only if you’d rather members never need a username: people forget usernames far more often than their email address.
Step 5: Lock the default login page
Still under Login Settings, turn on Lock Access to wp-login.php and save.
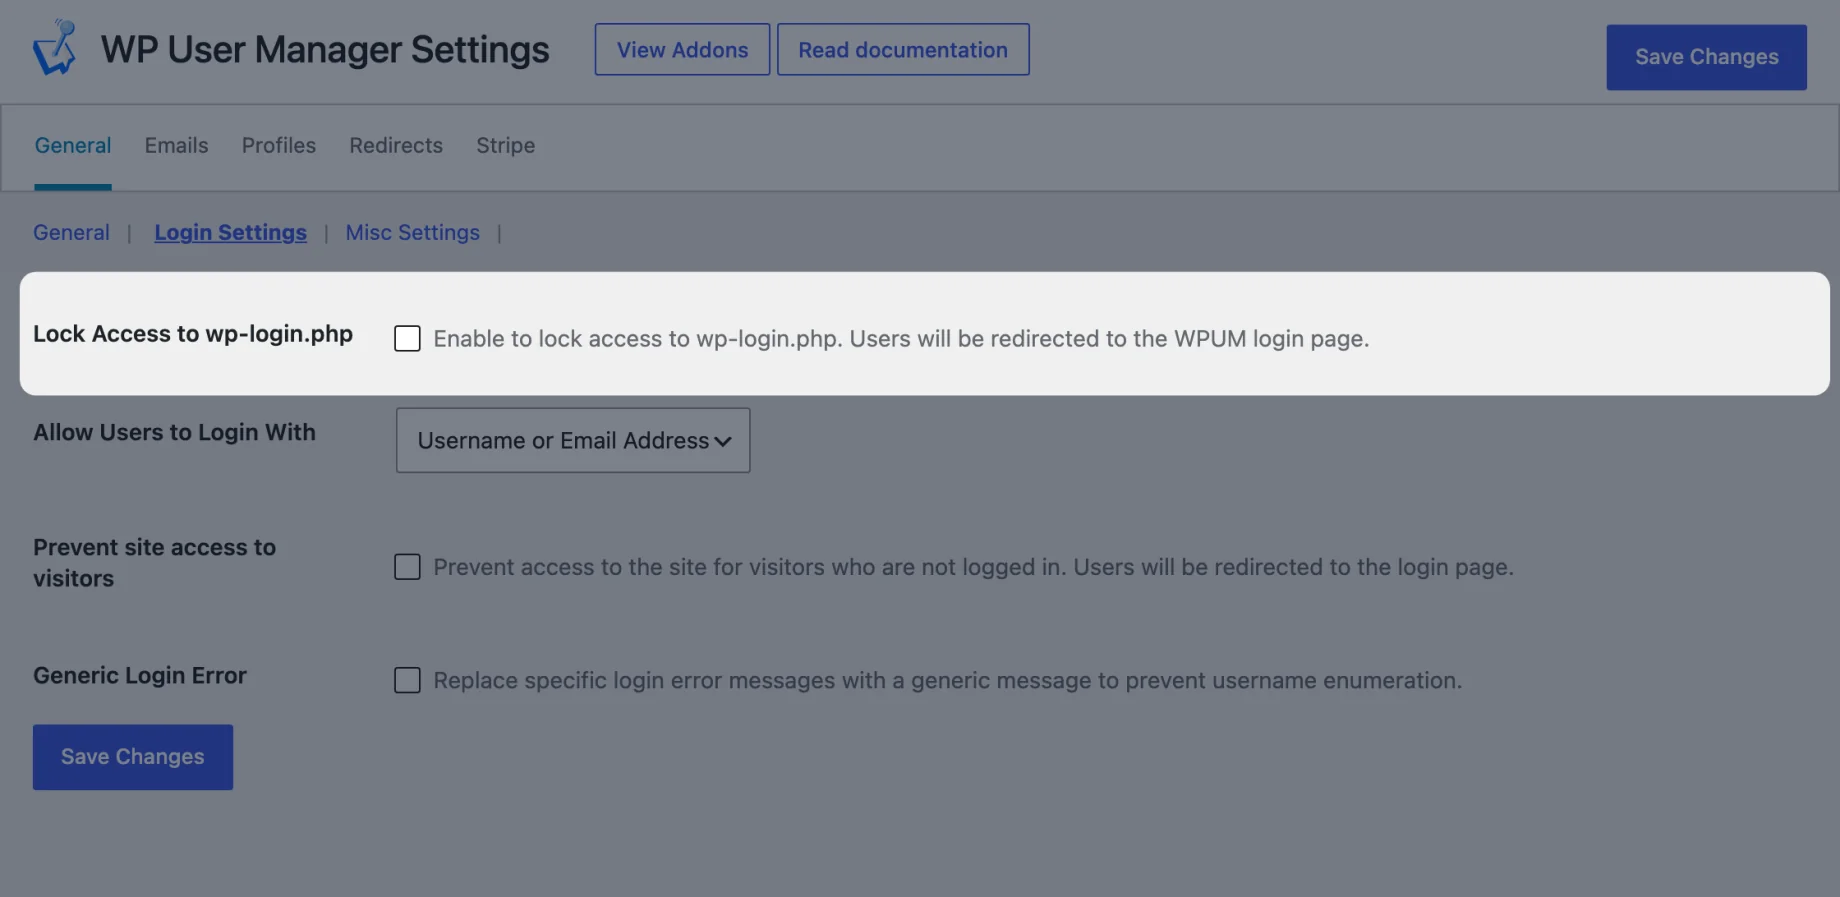
Anyone who visits wp-login.php is now redirected to your custom login page, including people who type /wp-admin while logged out. Logging out and resetting a password keep working as normal. Redirecting the WordPress login page has more detail.
Step 6: Send people somewhere useful after they log in
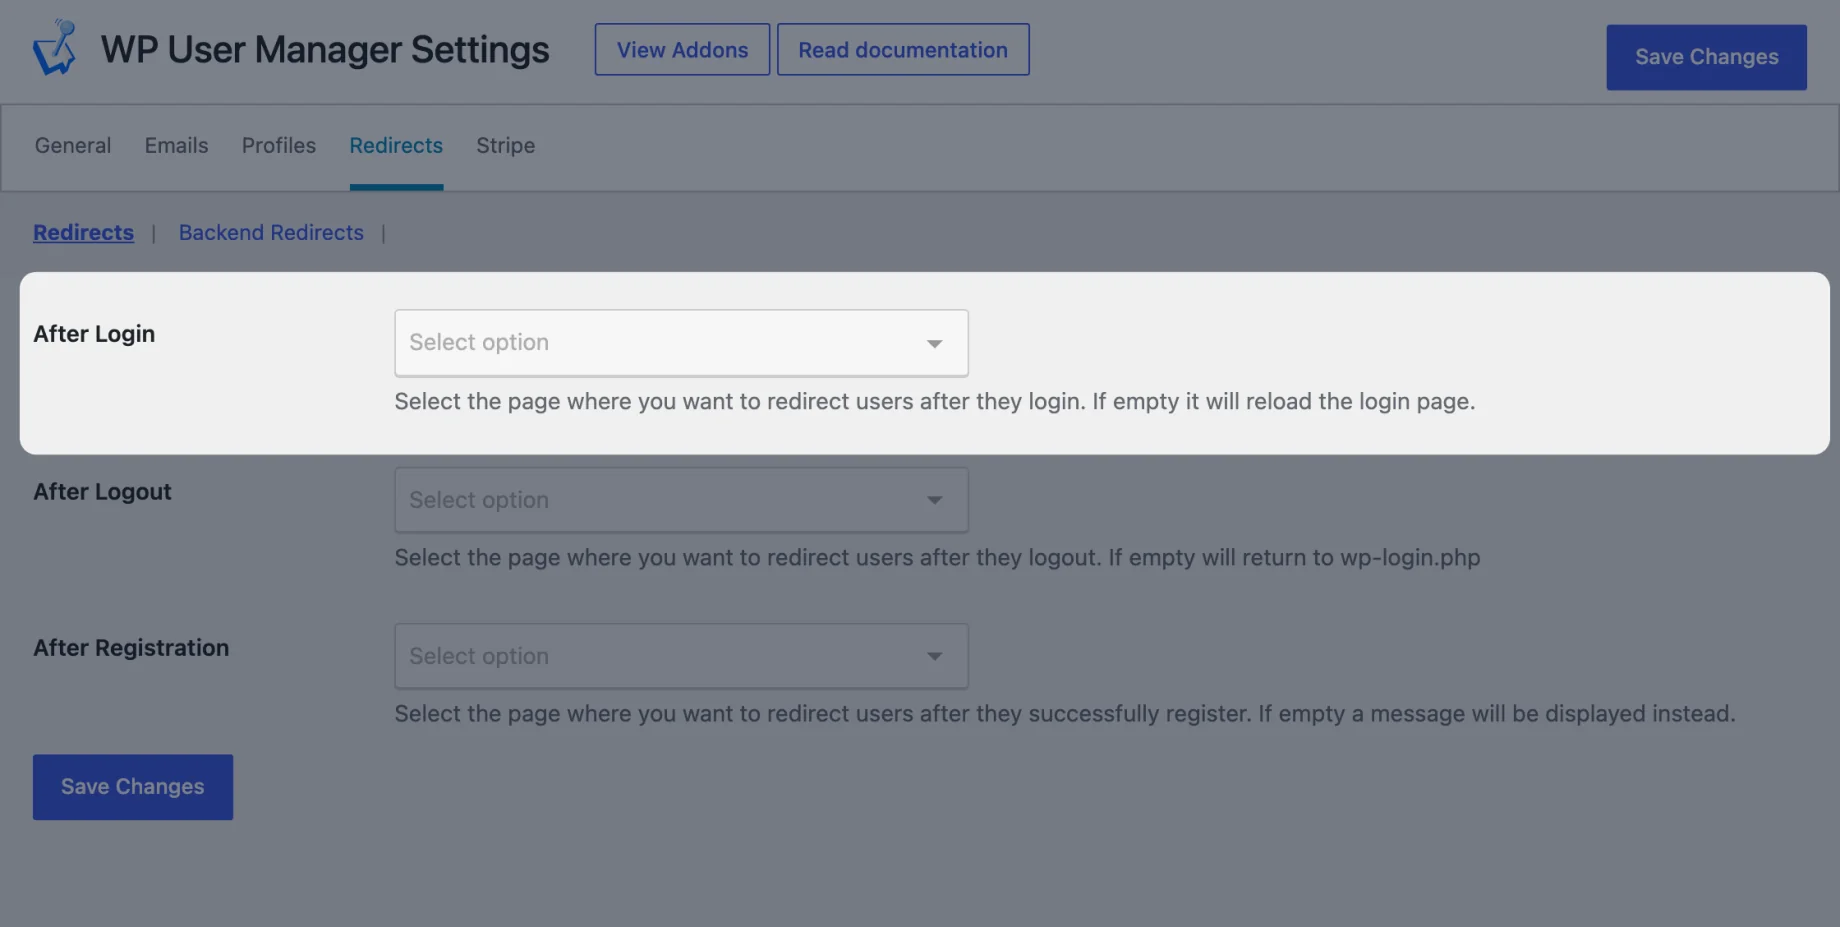
By default, the login page reloads after a successful login. On the Redirects tab, set After Login to the page members should land on, such as their account page or a members-only dashboard. Set After Logout too, or logged-out users are sent to wp-login.php, which now redirects to your login page. See how login redirects work for the other ways to set them.
That’s it: your site has a login page that looks like the rest of it, and the default screen is out of the way.
Make your login page more secure
A custom login page is a good start, and locking wp-login.php stops casual visitors from finding the default form. Bots that target login forms will still find yours, so it’s worth adding one or two of these.
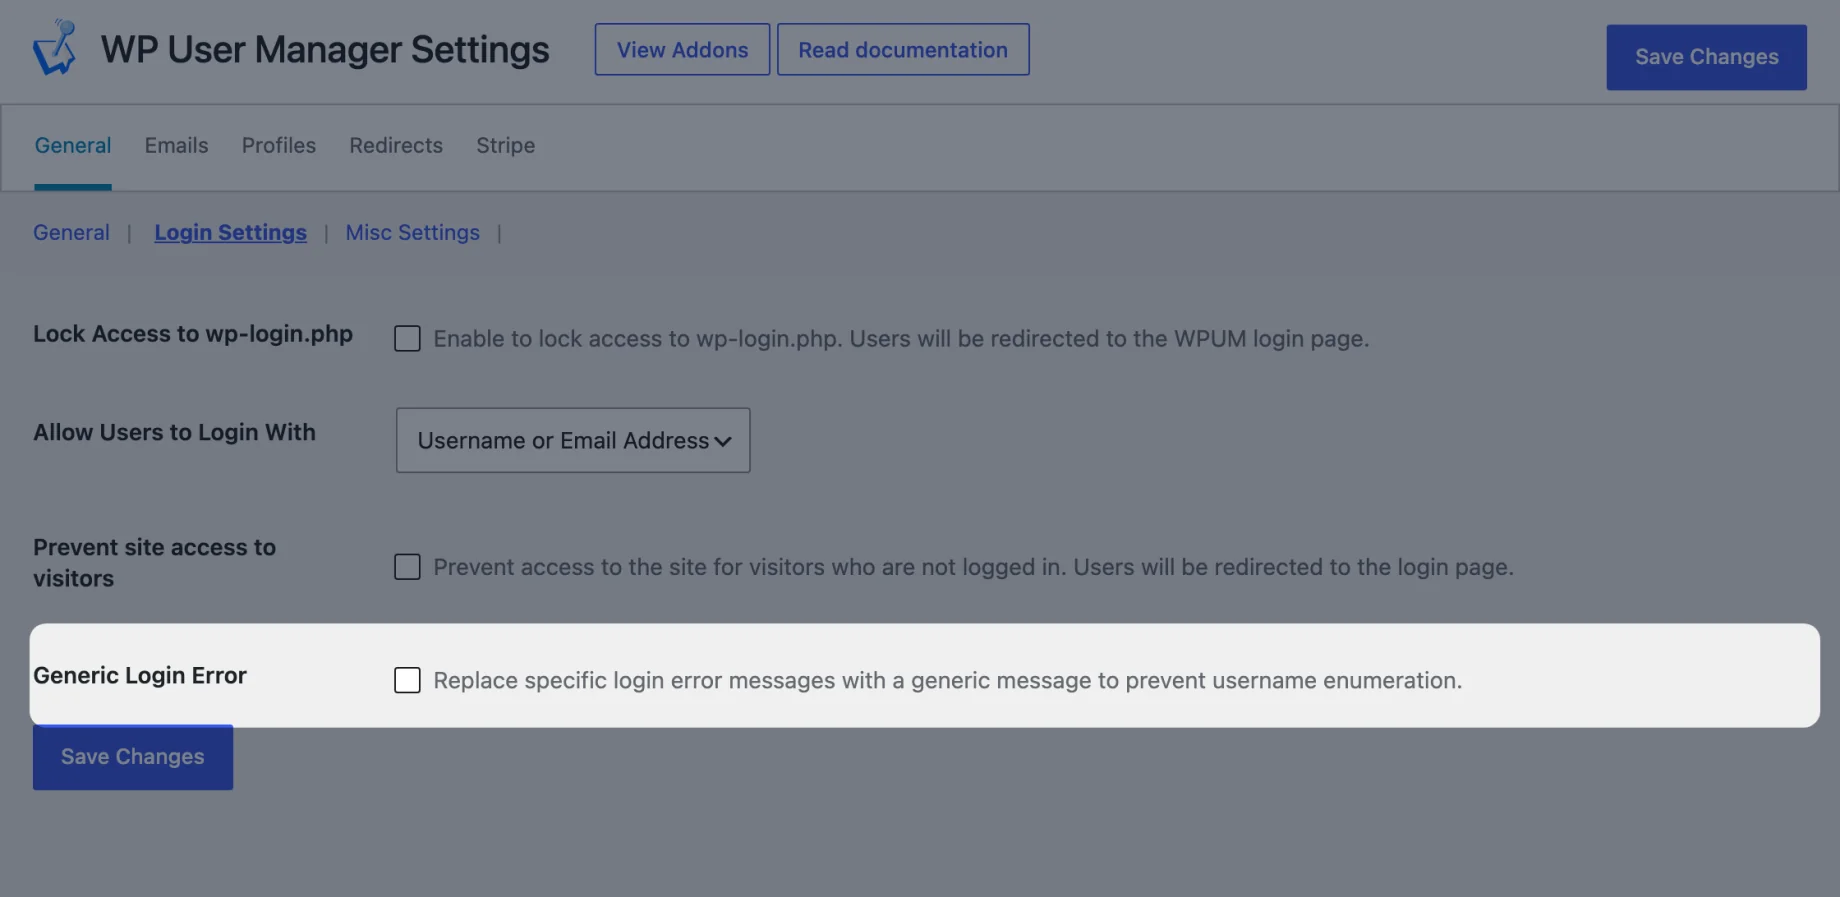
- Generic login errors. By default, a failed login tells the visitor whether the username or the password was wrong, which lets bots work out which accounts exist. Under Login Settings, turn on Generic Login Error to show one message for both. This is free.
– A CAPTCHA. The hCaptcha and reCAPTCHA addons add a challenge to the login form. They’re paid addons.
– Two-factor authentication. The Security addon (paid) lets members protect their account with an authenticator app, with backup codes if they lose their phone. See how two-factor authentication works.
– Passwordless login. The same addon can email members a one-time login link instead of asking for a password. See passwordless login.
Going further: A members-only site
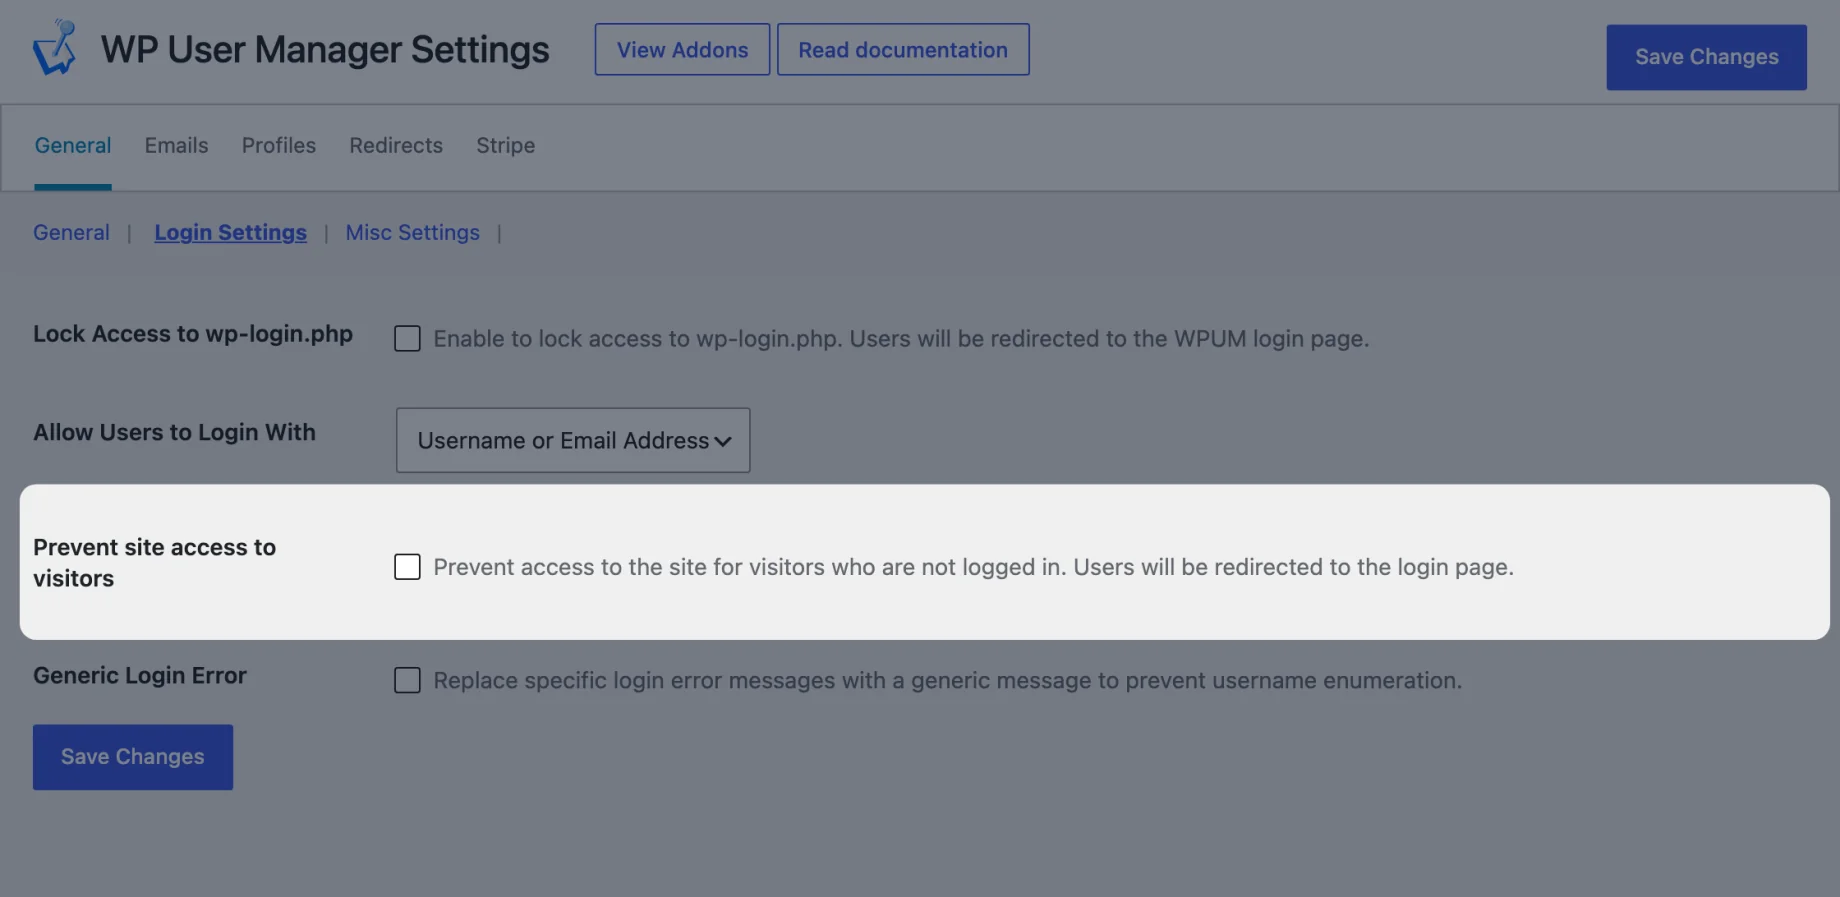
If the login page is the front door to a private site, WP User Manager can keep everything else behind it. Under Users → Settings → General → Login Settings, turn on Prevent site access to visitors, and anyone who isn’t logged in is sent to your login page. There’s a setting to still allow registration.
Our guide to making a WordPress site private goes through the options.
To let people sign up as well as log in, the Register page WP User Manager created works the same way. Our guide to WordPress registration forms covers adding your own fields.
FAQs
Where is the default WordPress login page?
At yoursite.com/wp-login.php. Visiting yoursite.com/wp-admin while logged out also takes you there. Once you lock it with WP User Manager, both addresses redirect to your custom login page.
I’ve locked wp-login.php and my login page is broken. How do I get back in?
Add ?wpum_override=1 to the address: yoursite.com/wp-login.php?wpum_override=1. That shows the default login screen even when it’s locked, so you can log in and fix the page.
Can I add a login link to my menu?
Yes. With a block theme, add your Log In page to the Navigation block in the site editor. With a classic theme, add it under Appearance → Menus; for a logout link there, add any custom link, open its settings and tick Set as logout url.
Does the custom login page work with my page builder?
Yes. The login form is a shortcode and a block, and there’s an Elementor widget, so you can place it in any layout.
Try it on your site
WP User Manager is free on WordPress.org and takes a few minutes to set up. Download WP User Manager and give your members a login page that feels like part of your site.
Registration forms, profiles and member directories are in the free plugin too: see all the features. When you need more, such as custom fields, multi-step registration or social login, browse the addons.