

The web is designed to be an open medium to consume information. However, there is also space for those who want to hide away valuable content to either share it among select groups or monetize it. When it comes to how to make a WordPress site private then, you have a lot of available options.
The best way to make a WordPress site private is through plugins. However, there are options to adjust visibility for individual posts and pages that don’t require plugins at all. For ‘power’ use cases though, a dedicated plugin will do a better job, and often come with a greater set of features.
For this post, we look at how to make a WordPress site private in a few different ways. In fact, we’ll look at how to do this not only for the site in general, but for posts and pages too. Also, we’ll show you how WP User Manager can help you lock up content (and your whole site).
Why You’d Need to Make a WordPress Site Private
In essence, any time you have valuable content, it’s a good idea to consider making it private to some users. Of course, nothing stops you from giving that content away without restriction. After all, the web should be open, collaborative, and exchange information that can benefit people.
However, consider the following use cases, as they all benefit from hidden or private content:
- Membership or subscription websites.
- Personal content on a site not suitable for the public.
- Internal pages and posts that aren’t for wider public consumption (such as training materials)
- Posts or pages that shouldn’t yet be live, but are ready to release.
In practice, you would hardly ever make an entire website private on a permanent basis. Instead, you’ll restrict access to most casual and non-registered users. From there, you will likely open up your site content further to registered users, specific user roles, paying customers, and more. Site Administrators and possibly editors will likely have full access to the site in order to manage and run it.
How to Make an Entire WordPress Site Private
If you wish to make an entire WordPress site private, you can do so using a plugin. My Private Site is a quick and painless way to do so.
It will let you restrict an entire site to only those users who log in. Using this plugin is beyond the scope of the article, but we’d still exercise caution with a plugin like this. Instead, a better way is to make either a private page or post. In the next section, we’ll discuss how.
How to Make Individual Posts and Pages Private
You won’t need a plugin to implement basic content restriction in WordPress. In fact, you can do so from the Block Editor’s settings. To do this, open the edit screen for your desired post or page, and check out the right-hand Post or Page sidebar. The option you need is Visibility under the Summary section.
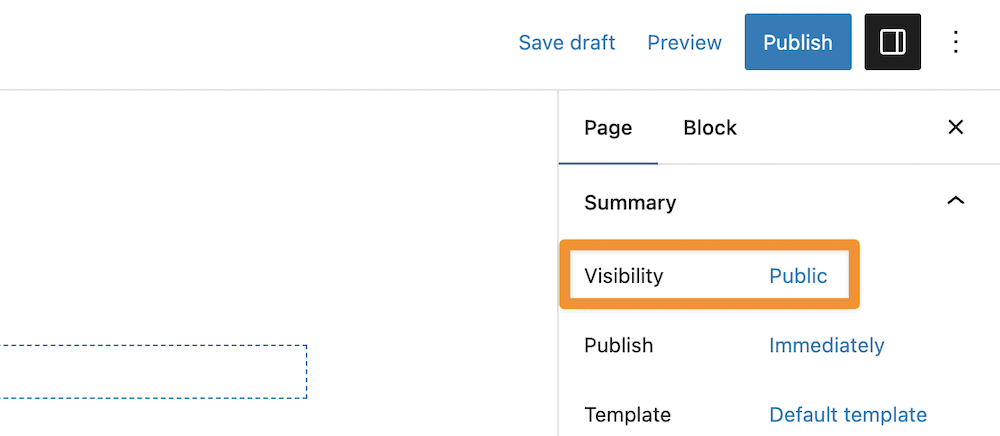
If you click the Public link, the Visibility modal will show up:
Get Started with the Best WordPress Membership Plugin Today
Connect, Manage and Build your Membership Site
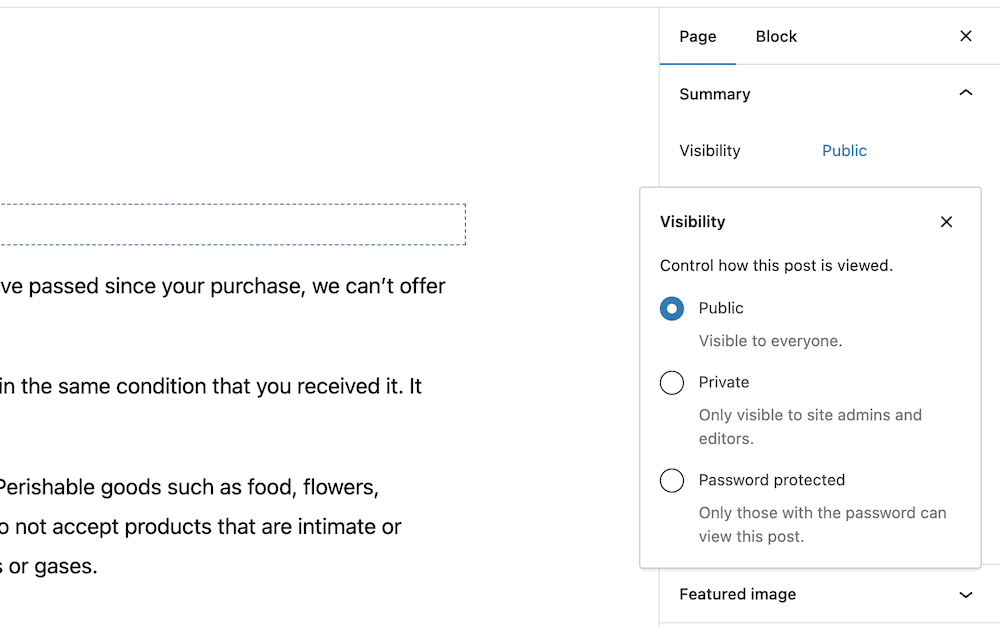
This gives you three options: to make the post visible to all, to make the post private for everyone apart from Admin and Editor user roles, or to add password protection to a post or page. Once you select the relevant option and save your changes, this will make the page or post private.
However, this isn’t going to be ideal for advanced use cases, as the functionality is basic. Instead, you can turn to a WordPress plugin to get the job done.
How to Make a WordPress Site Private Using WP User Manager (In 3 Steps)
WP User Manager offers much more than simple user role management or features to help build a community. Here, we’ll show you how to make a WordPress site private with the WP User Manager plugin.
To achieve this, you’ll need the Private Content and Content Restriction add-ons, which you can get from a subscription to either the Plus or Pro plans. Once you make a purchase, you can begin to hide away your entire WordPress website.
1. Install the Private Content and Content Restriction Add-Ons
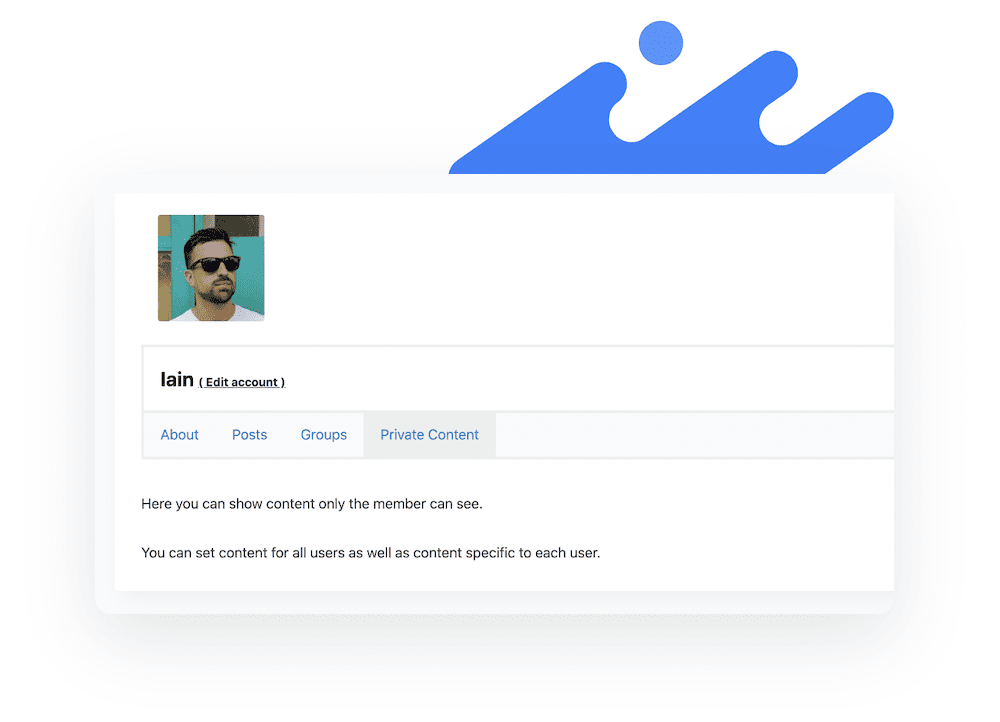
First off, the Private Content add-on does what it says on the box. It lets you show user-specific content on profiles.
In contrast, the Content Restriction add-on provides a way to micro-manage visibility for posts and pages.
This add-on is more suited to gated content, and we have a full tutorial on this application. As such, we won’t cover it in depth here, although later on we’ll give you the basics.
We also have a full guide on how to install any WP User Manager add-on, which should be familiar to you as it’s similar to practically every other WordPress plugin. Once the add-ons are ready to use, you can move onto setting up your private content.
2. Set Up the Private Content All Users Will See
To set up private content for all users, you’ll want to head to Users > Profiles within the WordPress dashboard. Once you’re here, you can add private content on the Profiles Content screen:
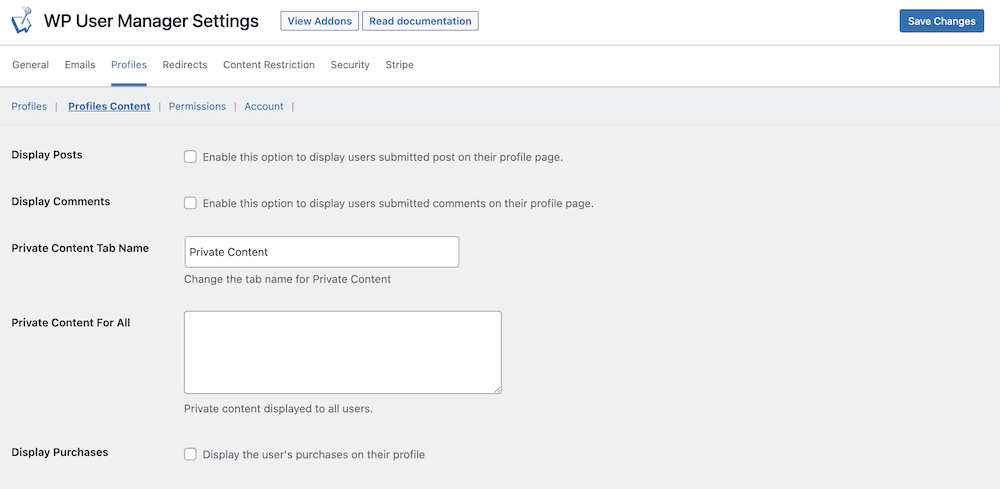
While there are a lot of options here, there are only two we need. The Private Content Tab Name field will let you specify what the specific tab is called on user profiles. In the Private Content For All field, you can set the exact content you want to display to each user:
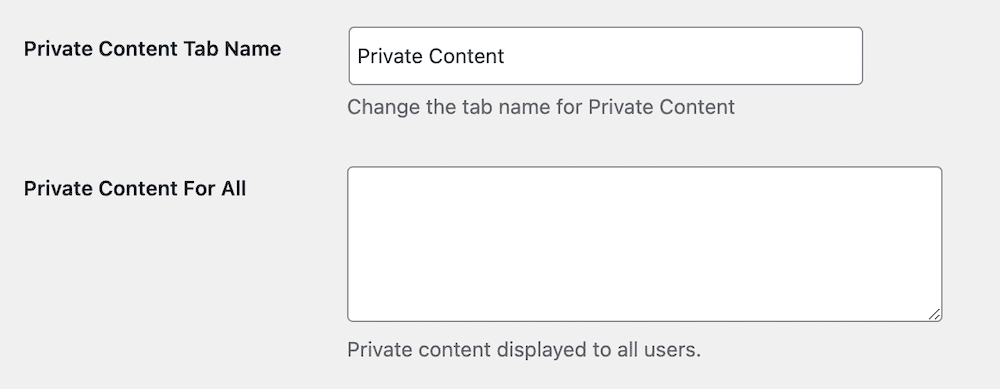
Once you save your changes, each user will see the private content you set. However, this isn’t all you can do for your users.
3. Tweak Private Content on a Per-User Basis
If you wish, you can set private content for each individual user. To do this, head to your Users > All Users list and head into whichever profile you wish:
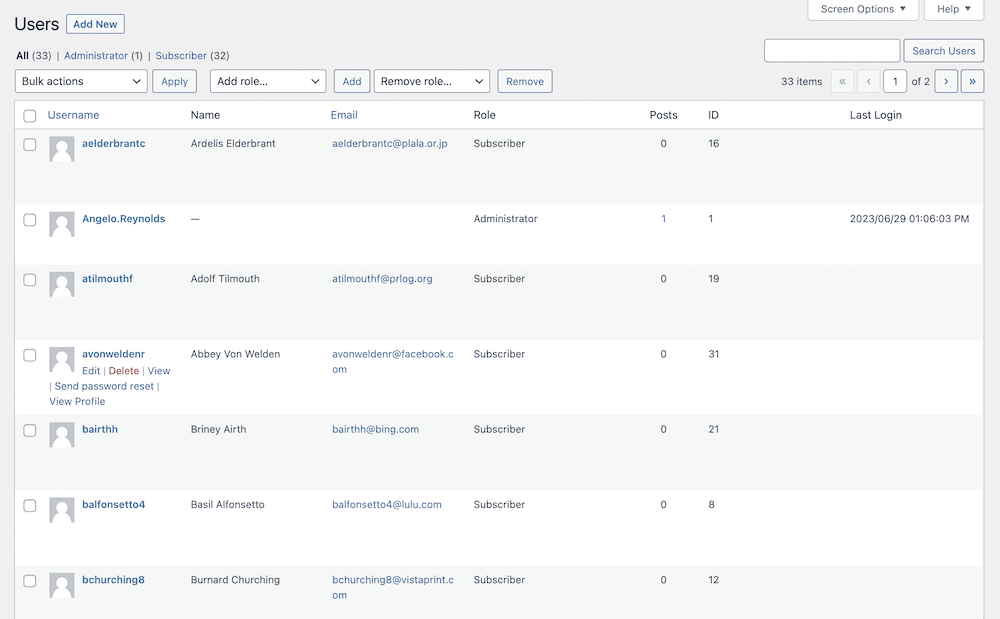
Within the profile, scroll down. Depending on your other installed plugins and functionality, there may be a lot to get through. However, you should see the WP User Manager – Private Content section.
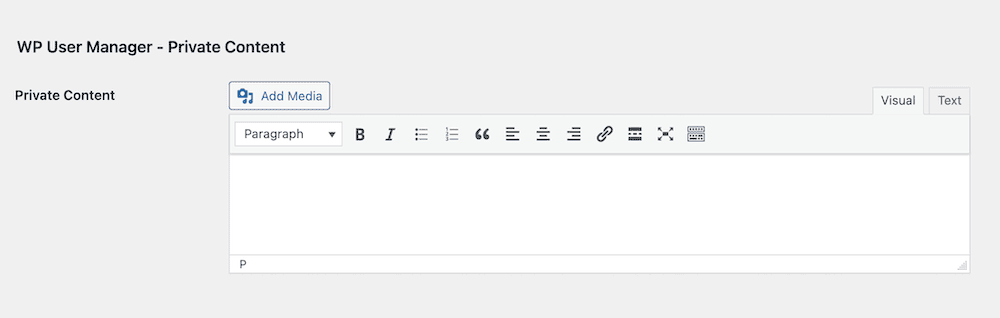
Here, you have a field that looks like a Classic Editor panel. As such, you can add content with styling, insert media from the WordPress Media Library, and even use shortcodes within the body.
Once you finish your content, save your changes and this will then show up on that user’s profile screen when they log in.
4. Restrict Content to Make Your WordPress Site Private
The final step in how to make a WordPress site private is through content restriction. You can find these options within the WordPress Block Editor’s sidebar. We’ll start with individual Blocks. Look for the WP User Manager – Restriction section:
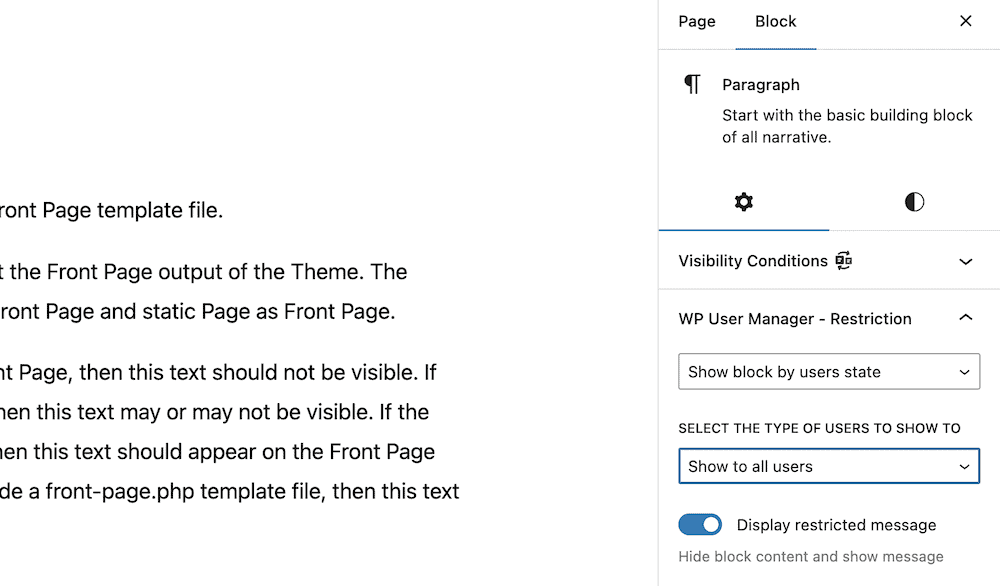
Here, you can set a few different options to help restrict content. You can choose to show a Block to either logged in users or logged out users only, certain users, or user state.
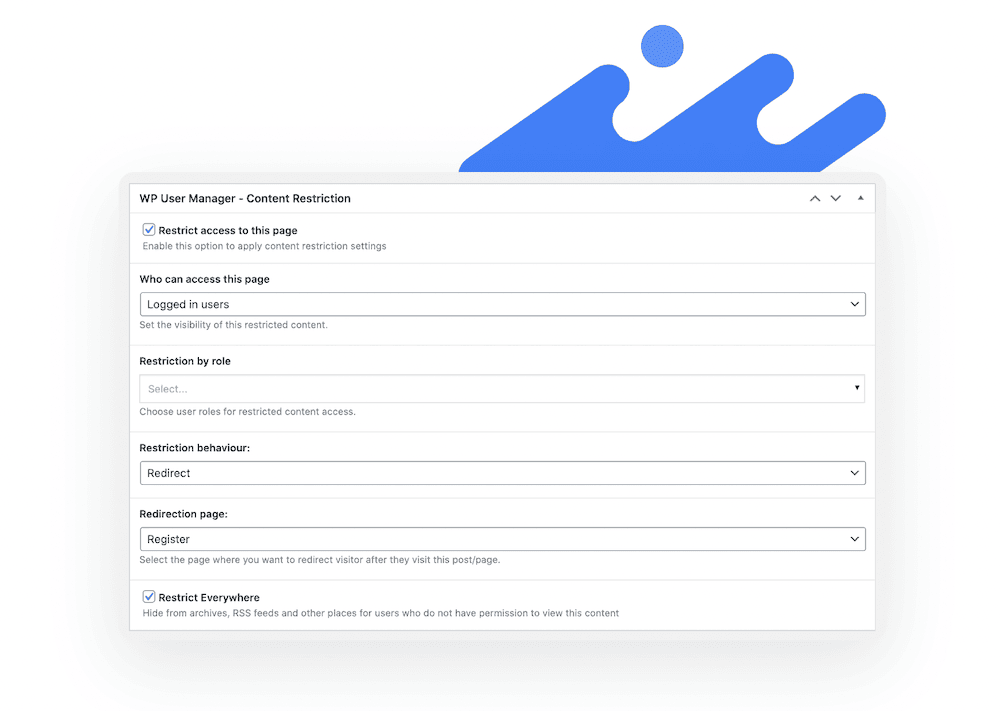
To restrict the whole page, you can use the Content Restriction metabox at the bottom of the WordPress editor:
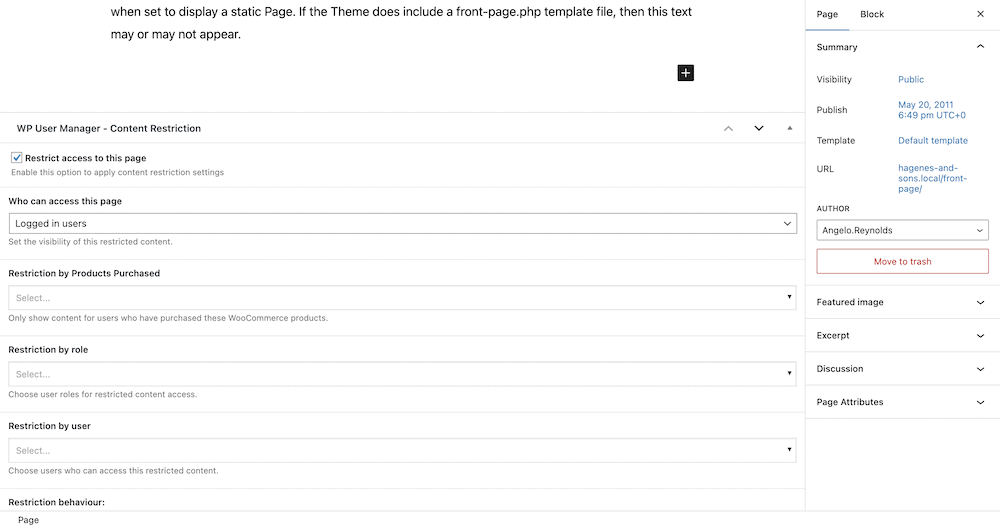
Here, you get plenty more restriction options, such as the ability to restrict a page based on user role or individual user. There are also options to remove these pages from menus, RSS feeds, archives, and much more.
FAQs
Before we wrap this post up, let’s summarize a couple of questions relating to how to make a WordPress site private. They should help give you an overview of why you’d want to do this, and how to do it.
Why Should You Make Your WordPress Blog Private?
In a nutshell, it could be that to non-registered users, you look like you have a completely private website. This will also be the case if you click the box to discourage search engine indexing on the WordPress admin dashboard. However, in reality, different parts will be accessible based on various factors. You can hide your most valuable content behind a paywall, for instance.
Also, you can provide specific users and roles with content that is relevant for them. This gives your site an element of personalization, and will boost your UX, user loyalty, and more.
How Do You Block Non-Registered Users From Pages or Posts in WordPress?
Without a plugin, you can hide posts and pages from users through the native Block Editor’s visibility options. However, for greater flexibility, including hiding content from non-registered users, you can use a plugin such as WP User Manager.
In Summary
Monetizing your site’s content often means putting it behind some form of paywall or visible restriction. However, not everything is about money. Making your content private is, at its core, similar to how you would implement a membership site. In this case though, you might not want others to access content for any number of reasons.
While you can make a private post or page without the need for plugins, WP User Manager’s Content Restriction and Private Content add-ons offer more. The latter lets you set private pages and posts per user, and do so from the comfort of the WordPress dashboard. The Plus or Pro plans both include the Private Content add-on, starting from $199 per year.
Do you have any questions about how to make a WordPress site private, or using WP User Manager for the purpose? Ask away in the comments section below!